How to Stream PC Games to Twitch Like a Pro
25 May 2025
So, you want to stream your PC games to Twitch like a pro? Well, you’re in the right place. Whether you’re dreaming of becoming the next big Twitch star or just want to share your epic gaming moments with friends, setting up a high-quality Twitch stream isn't as complicated as it may seem.
Think of it like cooking a gourmet meal: you need the right ingredients (hardware), the right recipe (software setup), and a bit of personal flair to make it all come together. In this guide, we’ll break everything down in a lighthearted and easy-to-follow way.
Let’s dive in and get you streaming like a pro! 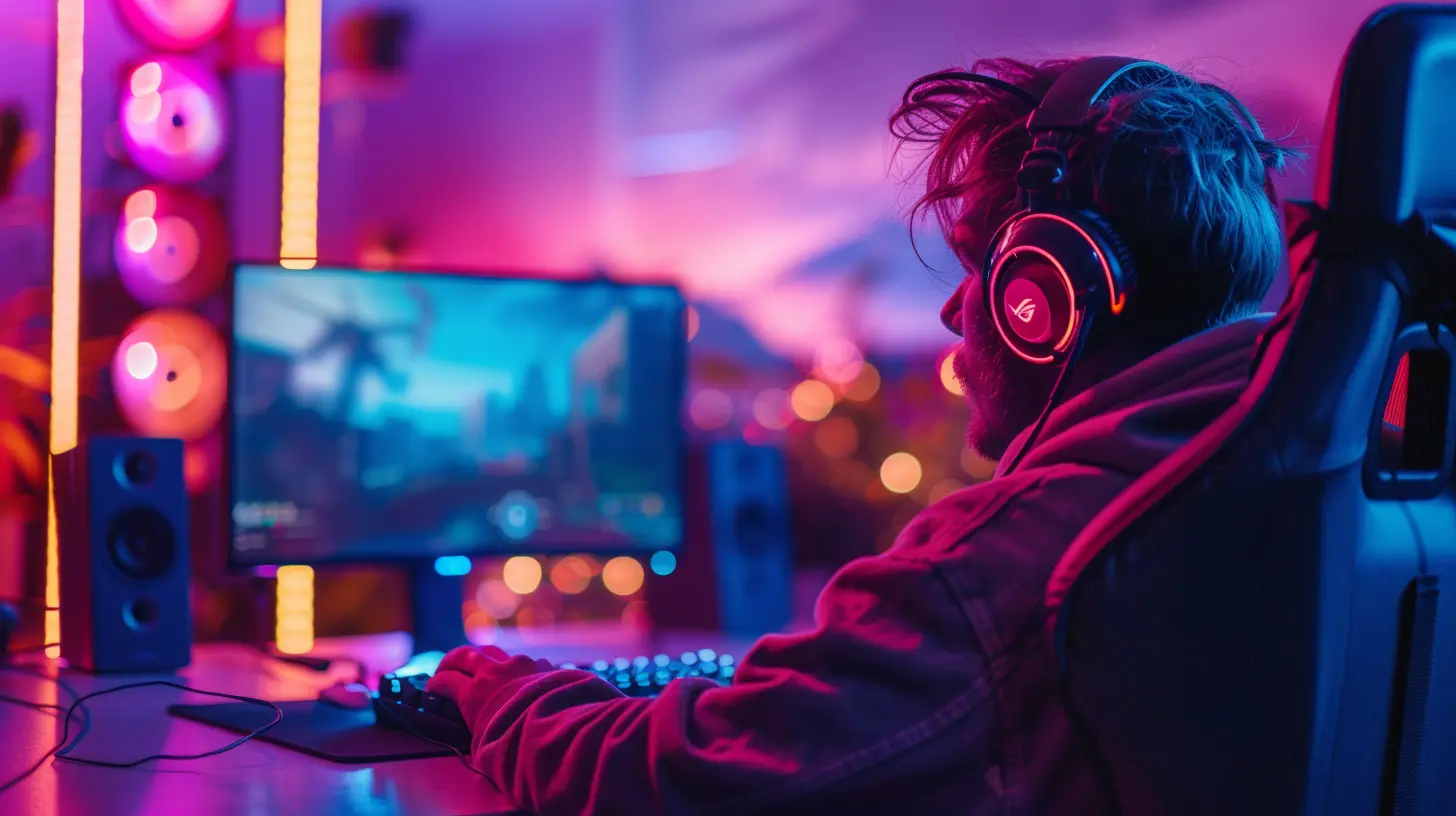
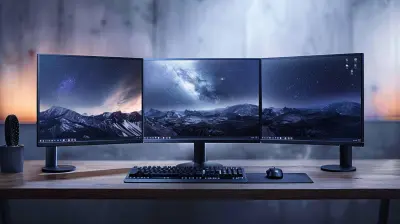
🖥️ Step 1: Get the Right Streaming Gear
Before you hit that "Go Live" button, you need to make sure your setup can handle the pressure. Here’s what you’ll need:1. A Solid Gaming PC (or Two?)
Streaming while gaming can be demanding on your system. Ideally, your PC should have:- CPU: At least an Intel i7 or AMD Ryzen 7.
- GPU: Something powerful like an NVIDIA RTX 3060 or better.
- RAM: At least 16GB, but 32GB is even better.
If you’re serious about streaming, consider a dual-PC setup—one for gaming and another for streaming. But hey, don’t panic if you only have one PC; it’s totally doable!
2. A Good Microphone
Your gameplay is important, but your audience also wants to hear you clearly. Avoid using a built-in laptop mic—it'll make you sound like you're trapped inside a tin can. Instead, get a dedicated microphone like the Blue Yeti or Elgato Wave 3.3. A Webcam (Optional, But Recommended!)
People love to see the face behind the gameplay. You don’t need a high-end DSLR, but something like the Logitech C920 will do the trick.4. A Capture Card (For Consoles)
If you ever want to stream console games, pick up an Elgato HD60 S or a similar capture card.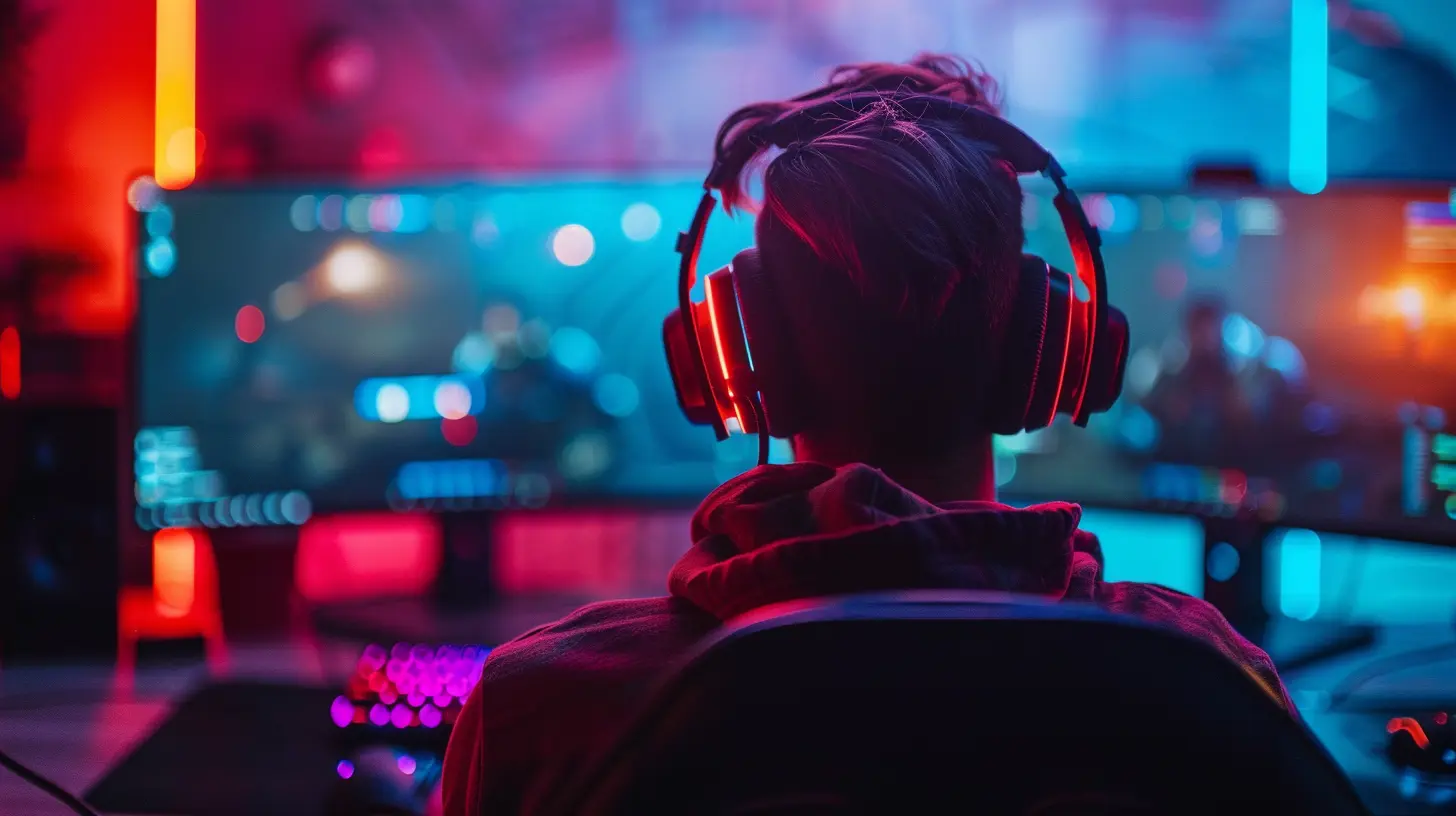
🎥 Step 2: Choose the Right Streaming Software
Now that your hardware is sorted, it’s time to install the software that will bring your stream to Twitch. There are a few options:1. OBS Studio (Free & Open Source)
OBS Studio is like the Swiss Army knife of streaming software. It’s powerful, customizable, and free. If you're serious about streaming, this is your best bet.2. Streamlabs OBS (Beginner-Friendly)
If you want an easier setup that still delivers professional results, Streamlabs OBS is a great choice. It comes with built-in themes, alerts, and widgets to make your stream look polished from day one.3. XSplit (Paid, but Feature-Rich)
XSplit has powerful tools and is beginner-friendly, but it comes with a price tag. If you’re okay with spending money, it’s worth checking out.
🎛️ Step 3: Set Up Your Streaming Software
Got OBS or Streamlabs installed? Awesome. Time to configure it properly.1. Configure Your Video Settings
- Resolution: 1080p is ideal, but if your PC struggles, 720p is totally fine.- Framerate: Stick to 60 FPS if your hardware can handle it. If not, 30 FPS still looks decent.
- Bitrate: For 1080p at 60 FPS, set the bitrate to around 6000 kbps. If you’re streaming at 720p, 3000-4500 kbps should work well.
2. Set Up Your Audio
- Keep background music low so your voice is clear.- Adjust your mic levels so your voice isn’t too loud or too quiet.
- Use Noise Suppression and Noise Gate in OBS to cut out background noise.
3. Add Overlays & Alerts
Overlays make your stream look professional! Use websites like Streamlabs or OWN3D to download cool overlays, alerts, and widgets.
🎮 Step 4: Connect OBS to Twitch
Now, let’s link your streaming software to Twitch.1. Get Your Twitch Stream Key
- Go to Twitch.tv and log in.- Click on your profile picture > Creator Dashboard > Settings > Stream.
- Copy your Stream Key (DO NOT share this with anyone!).
2. Paste It Into OBS
- Open OBS and go to Settings > Stream.- Select Twitch as your service.
- Paste your Stream Key and hit Apply.
Boom! You’re now connected to Twitch.
🚀 Step 5: Optimize Your Stream for Viewers
Now that your stream is technically working, let’s make it enjoyable for people to watch.1. Have a Catchy Stream Title & Category
- The title should be fun and engaging. Instead of “Playing Elden Ring,” try something like “Watch Me Get Wrecked in Elden Ring”.- Pick the correct game category so Twitch recommends your stream to the right audience.
2. Engage With Your Audience
- Talk to your chat (imagine you’re hanging out with friends).- Ask questions and start discussions.
- Respond to comments regularly—viewers love streamers who interact.
3. Use Overlays & Alerts Wisely
- Show new follower alerts, subscriber notifications, and donation pop-ups.- Add a “Be Right Back” screen for when you need to step away.
📢 Step 6: Promote Your Stream
A stream without viewers is just you talking to yourself (which is totally fine, but let’s get some people in there!).1. Social Media Is Your Best Friend
- Post on Twitter, Instagram, and TikTok when you’re going live.- Share clips of your funniest moments—people love bite-sized content.
- Join Reddit gaming communities and promote when appropriate.
2. Network with Other Streamers
- Host collaboration streams with friends.- Raid other small streamers to build relationships.
- Join Discord communities related to your game.
🔧 Step 7: Test Everything Before Going Live
Before you open the floodgates, do a test stream. Here’s a quick checklist:✅ Is your mic working properly?
✅ Is your gameplay smooth with no lag?
✅ Are your overlays displaying correctly?
✅ Can viewers hear both you and the game audio clearly?
If everything looks good… it’s time to GO LIVE! 🎉
🏆 Bonus Tips for Streaming Like a Pro
- Stick to a schedule – Consistency helps build an audience.- Be yourself – People watch for YOU, not just the game.
- Have fun – If you’re enjoying yourself, your audience will too!
- Invest in a good chair – Streaming for hours? Your back will thank you.
🎬 Final Thoughts
Streaming on Twitch isn’t just about clicking a "Go Live" button. It’s about creating an experience that keeps viewers entertained. Whether you’re aiming to turn streaming into a full-time career or just doing it for fun, following these steps will put you on the right track.So, grab your energy drink, fire up your PC, and start streaming like a pro! Who knows? You might just be the next big Twitch sensation.
all images in this post were generated using AI tools
Category:
Pc GamingAuthor:

Kira Sanders
Discussion
rate this article
4 comments
Blair Graham
Streaming PC games to Twitch? It's like baking a cake: mix the right ingredients, add a dash of charisma, and don’t forget the sprinkles of tech magic! Just avoid the 'burnt' lag and you'll be a pro in no time. Let’s game on and go viral!
June 19, 2025 at 10:50 AM
Kira Sanders
Absolutely! With the right setup and a sprinkle of personality, you can create an engaging streaming experience—just keep an eye on that lag! Happy streaming!
Rhea Palmer
Great article! Streaming can be daunting, but your tips simplify the process. I particularly appreciated the section on optimizing settings for better performance. For those new to Twitch, definitely consider interacting with viewers during streams—it's key to building a community. Keep up the excellent work!
June 5, 2025 at 11:43 AM
Kira Sanders
Thank you for the kind words! I'm glad you found the tips helpful and appreciate your insights on viewer interaction—it’s definitely crucial for building a community!
Hattie McCall
Streaming like a pro? More like streaming without the cringe! Level up your game, fam!
May 30, 2025 at 10:33 AM
Kira Sanders
Thanks for the feedback! Always striving to improve and make streaming more enjoyable for everyone.
Angie McNulty
Streaming PC games to Twitch: where your gaming skills meet your charisma—just remember, the only thing lagging should be your internet connection, not your jokes. Happy streaming, future Twitch star!
May 26, 2025 at 12:03 PM
Kira Sanders
Thanks for the great comment! Balancing skill and charisma is key to engaging your audience. Happy streaming!