How to Set Up a Multi-Monitor PC Gaming Station
10 June 2026
So, you're ready to level up your gaming experience with a multi-monitor setup? Heck yeah! Whether you’re aiming for full-blown immersion in your favorite open-world RPG or just want that ultra-wide peripheral view in your FPS games, you're in for a treat.
But let’s be real—setting up a multi-monitor PC gaming station can feel like assembling space tech if you're not sure what you're doing. Don’t sweat it. I’m here to break it all down into bite-sized, jargon-free steps. Grab a drink, sit back, and let’s get your dream gaming setup rolling.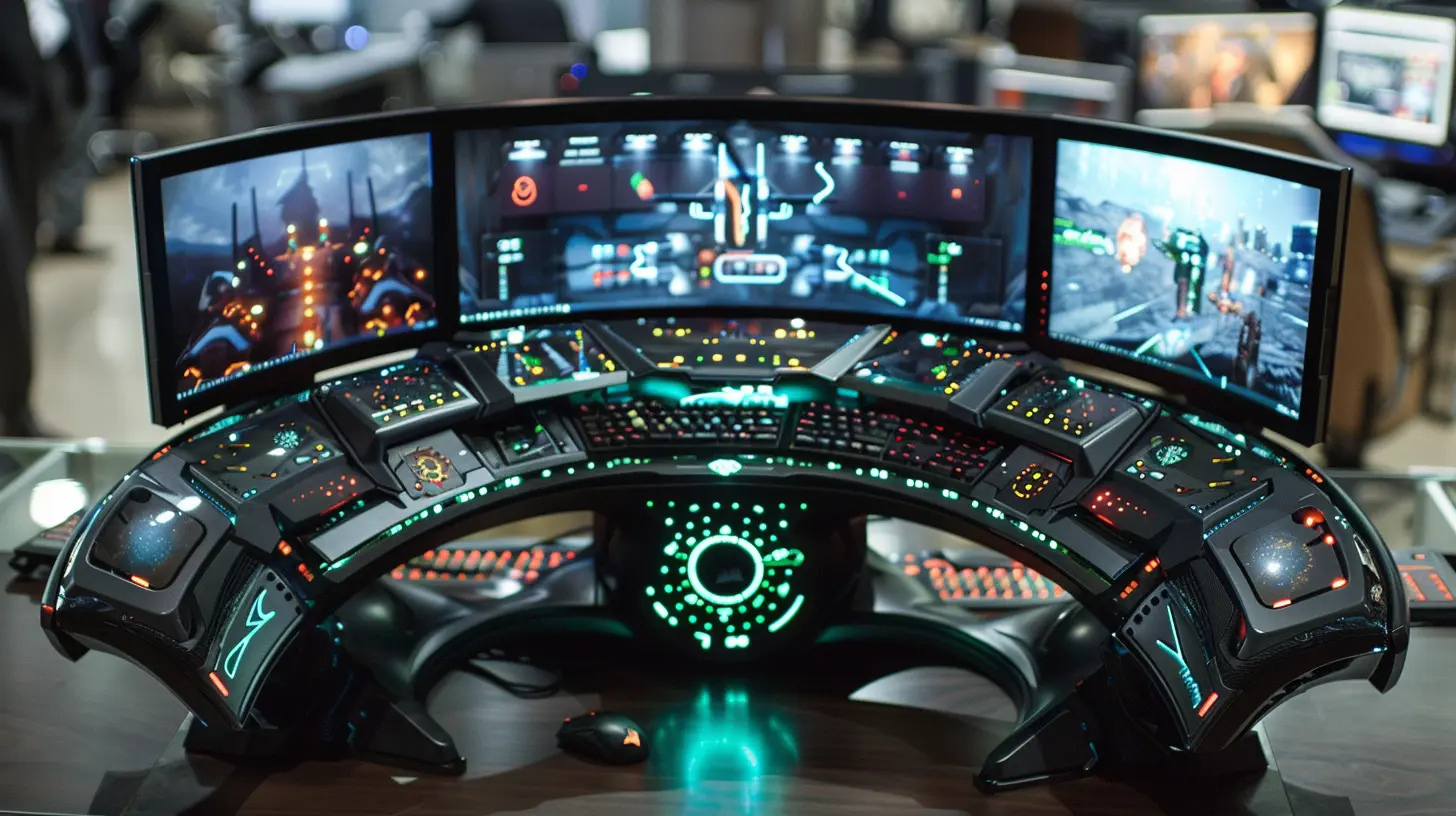
Why Go Multi-Monitor in the First Place?
Before we dive into the nuts and bolts, it's worth asking: why even bother with more than one screen?Well, for starters…
- Immersion: Imagine being inside your game, not just watching it.
- Productivity: Keep Discord, guides, Twitch streams, or your Spotify playlist on a second monitor.
- Flexibility: Stream, play, and chat—all at once.
Once you try it, trust me, there’s no going back.
Step 1: Check Your Graphics Card
Alright, time for the first big question: Can your PC handle multiple monitors?GPU Ports Matter
Look at the back of your PC—specifically your graphics card (GPU). Most modern GPUs like NVIDIA’s RTX series or AMD’s RX lineup support multiple displays. You’ll need to check for:- HDMI ports
- DisplayPort(s)
- DVI (older models)
- USB-C (rare but awesome)
Each monitor needs its own port. If your GPU has 3 DisplayPort outputs, boom, those can each support one monitor.
> Tip: Don’t plug your monitors into the motherboard ports unless you’re using integrated graphics (and even then, it's usually not ideal for gaming).
Monitor Resolution & Refresh Rate
It's not just about how many monitors your card can handle, but also how well. Running three 1080p 60Hz monitors? Most mid-tier GPUs can do that with ease. But if you’re rocking 3 x 1440p at 144Hz… now we’re in beefy GPU territory.
Step 2: Choosing the Right Monitors
Don’t just grab any screens you find in your garage. For gaming, you want the right tools for the job.Go for Matching Displays (if you can)
Sure, you CAN mix displays. But matching monitors provide a seamless experience, both visually and physically. They’ll align better, look better, and function better.Key Specs to Consider
- Refresh Rate: Minimum 60Hz, but 144Hz+ if you love silky smooth gameplay.- Response Time: Lower is better (1ms to 5ms is the sweet spot).
- Size & Bezel Width: Thinner bezels = less distraction.
- Panel Type: IPS panels offer better color and viewing angles, but TN panels often have faster response times (useful in fast-paced games).
> Pro Tip: If one of your monitors is just for support apps (chat, streams, etc.), it doesn’t need to be top-tier. Save your cash for the main screen.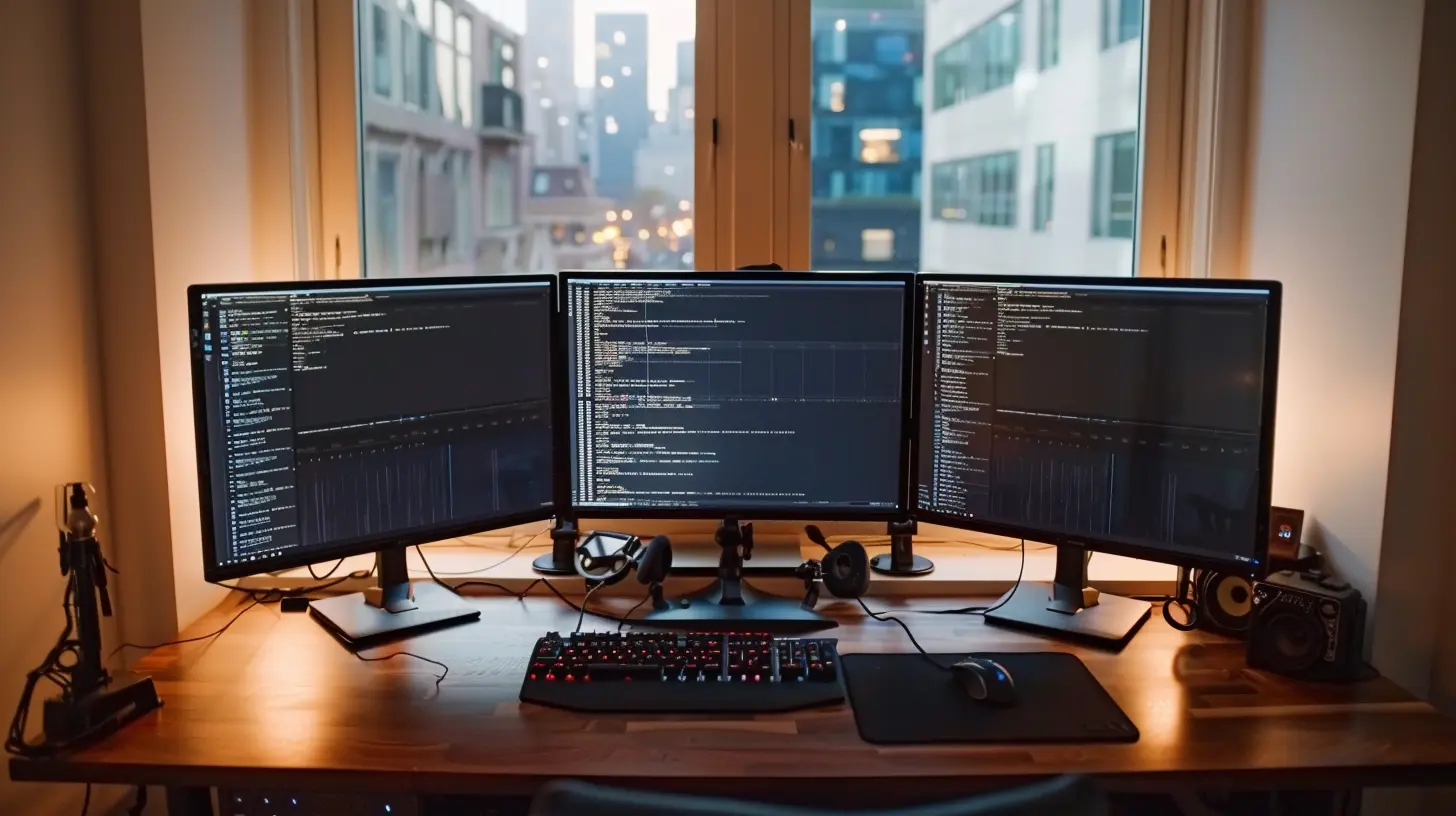
Step 3: Pick a Multi-Monitor Stand or Mount
Cable clutter and shaky desks? No thanks.Your Options
- Standard desk mounts: Clamp onto your desk and can hold 2–3 monitors.- Wall mounts: Great for clean setups if you don’t mind drilling.
- Stacked setups: One monitor on top of the other—less immersive for gaming, but good for productivity.
Make sure the stand supports the monitor sizes and VESA mount patterns of your displays.
> Little hack: a gas spring monitor arm lets you move your screen like Iron Man’s holographic displays. Super cool.
Step 4: Cable Management 101
No one wants a tangled jungle behind their rig. Clean cable management isn't just for aesthetics—it improves airflow and makes maintenance easier.Tips for a Tidy Setup
- Use cable ties or Velcro straps.- Label each cable (helps more than you think).
- Route cables behind your desk or through grommets.
- Use HDMI/DisplayPort right-angle adapters for tight spaces.
Trust me, future you will thank you when it's time to plug something new in.
Step 5: Configuring Your Multi-Monitor Setup in Windows
Time to fire everything up!Steps to Set It Up
1. Right-click on the desktop and choose Display settings.2. You'll see your connected monitors labeled 1, 2, 3 (etc.). Click "Detect" if one isn’t showing up.
3. Drag-and-drop the monitors to match their physical layout.
4. Choose your main display (usually the center one).
5. Set your preferred resolution and refresh rate for each screen.
> For high refresh rates, click “Advanced display settings” and make sure your monitor isn’t stuck at 60Hz by default.
Step 6: Configure Games for Multi-Monitor Use
Games aren't always plug-and-play for multi-monitors—some tweaking is needed.Use the Right Aspect Ratio
Ultra-wide resolution setups can stretch your field of view (FOV) like crazy. Triple 1080p monitors = 5760x1080. Many modern titles support this natively.If not? Tools like:
- Flawless Widescreen
- WideScreen Fixer
These community-made apps help correct weird aspect ratios or UI scaling.
Adjust FOV
Games like “Cyberpunk 2077” or “The Witcher 3” let you manually tweak your FOV to take full advantage of the extra screen real estate.Step 7: Useful Software for Multi-Monitor Management
Let’s add some digital feng shui.Must-Have Tools
- DisplayFusion: Drag windows to specific monitors, create hotkeys, or auto-load profiles when certain games start. Super customizable.- Actual Multiple Monitors: Adds a taskbar to your second screen and manages wallpapers, screen savers, etc.
- NVIDIA Surround / AMD Eyefinity: These are manufacturer tools used to configure and manage displays for immersive gaming.
Step 8: Audio Management (Don’t Skip This)
Ever have your game launching on the left screen and sound is coming out of the wrong speaker? Yeah, that's a mood killer.Quick Fixes:
- Right-click the Volume icon → Sound Settings.- Set your default audio device to match your main display or preferred output (like your headset).
- Use something like Voicemeeter if you want per-application sound controls. Super handy for streamers and multitaskers.
Step 9: Performance Tips for Multi-Monitor Gaming
Okay, now we’re cooking, but let’s make sure your PC doesn’t sound like a jet engine every time you boot up.Optimize Like a Pro
- Lower settings on side monitors: If they’re showing chat or Spotify, they don’t need ultra settings.- Tweak in-game graphics dynamically: Focus high quality on the main monitor.
- Upgrade your GPU and RAM if you're noticing lag or stutter.
> Bonus: Keep your drivers updated via GeForce Experience (Nvidia) or Radeon Software (AMD). They roll out multi-monitor optimizations regularly.
Step 10: Personalize and Accessorize
Now that your battle station is up and running, let’s make it yours.Add the Finishing Touches
- LED Lighting: RGB strips behind your monitors = chef’s kiss.- Ergonomic Chair: Your back will thank you.
- Mechanical Keyboard and Mouse: High performance and they just feel right.
- USB Hubs: For quick access to charging and peripherals.
Throw on a cool wallpaper that spans all monitors (Wallpaper Engine is amazing for this). Suddenly, your setup will feel like the command bridge of a spaceship.
Common Mistakes to Avoid
Don’t make these rookie errors:- Buying mismatched monitors online without checking dimensions.
- Plugging into the wrong ports (GPU vs. motherboard).
- Mounting without measuring, leading to misaligned screens.
- Ignoring cable length during setup planning.
- Overloading your GPU with too many high-res monitors.
Final Thoughts
Boom—you’re officially in the big leagues now. A well-set-up multi-monitor gaming station isn’t just about looking cool (though yeah, it totally does). It’s about playing smarter, reacting faster, and diving deeper into the worlds you love.Take your time with the setup, test things, tweak settings, make it uniquely yours. Whether you're gunning down foes in Warzone or cruising through Night City, you’ll be glad you made the leap to multi-monitor gaming.
all images in this post were generated using AI tools
Category:
Pc GamingAuthor:

Kira Sanders
Discussion
rate this article
1 comments
Primrose McNaughton
Setting up a multi-monitor gaming station can transform your experience, providing an immersive environment that enhances both gameplay and productivity. Consider the ergonomics of your setup and ensure your hardware supports the additional screens. This investment can elevate your gaming sessions significantly.
June 10, 2026 at 3:43 AM