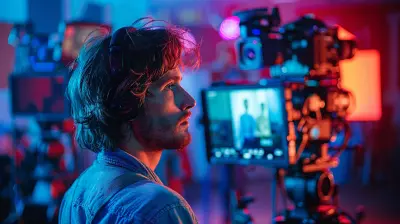
How to Shoot Stunning Astrophotography with the Right Camera Gear
30 April 2026
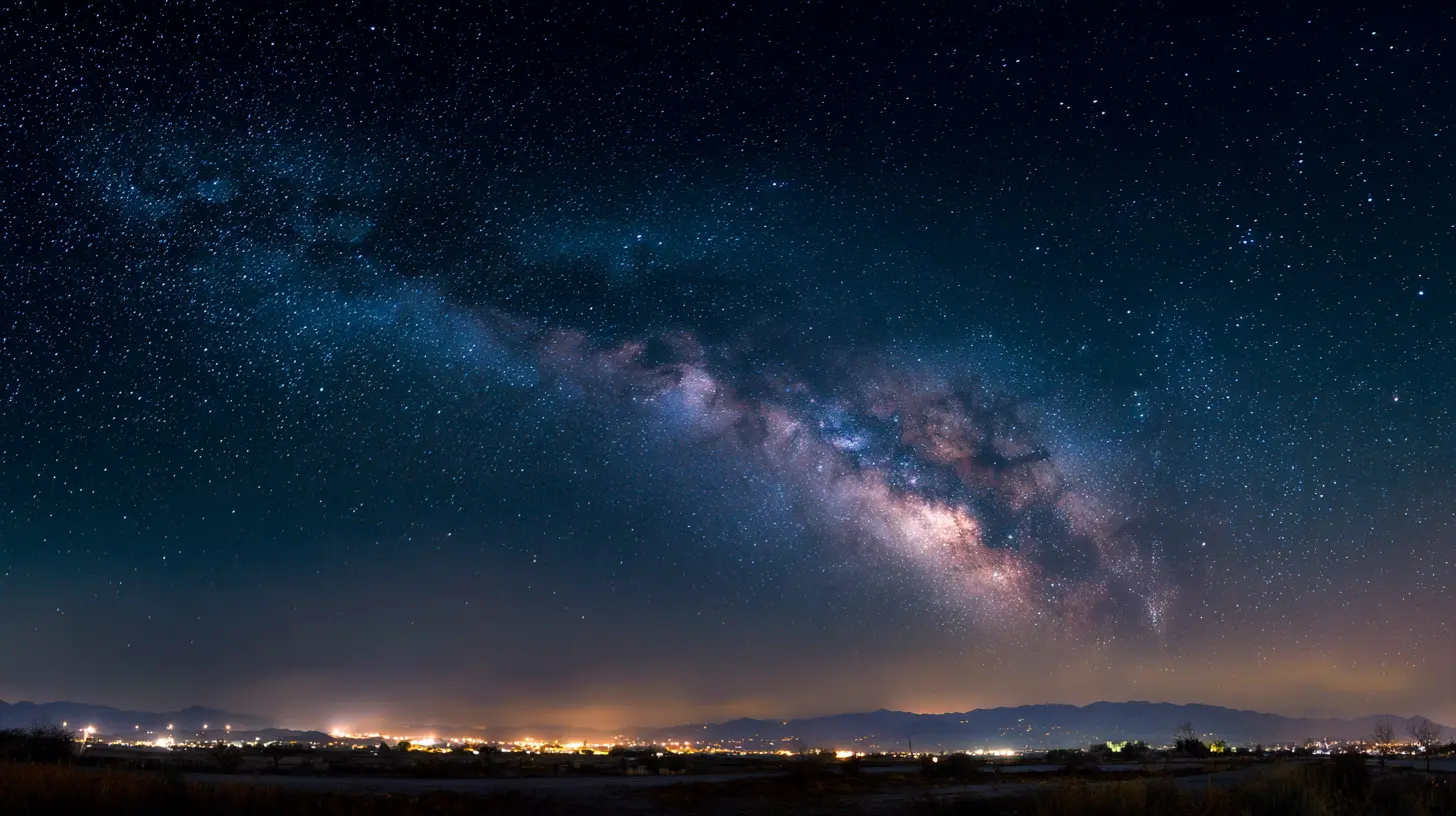
Ever looked up at a crystal-clear night sky and wished you could capture the breathtaking beauty of the cosmos? With the right camera gear and a little know-how, you absolutely can! Astrophotography isn’t just for the pros—it’s an exciting and rewarding hobby you can dive into and create stunning images of the Milky Way, constellations, and even distant galaxies.
If you've ever felt overwhelmed by all the technical jargon about cameras, lenses, and settings, don’t worry. This guide is here to walk you through everything you need to know to start shooting stunning astrophotography. 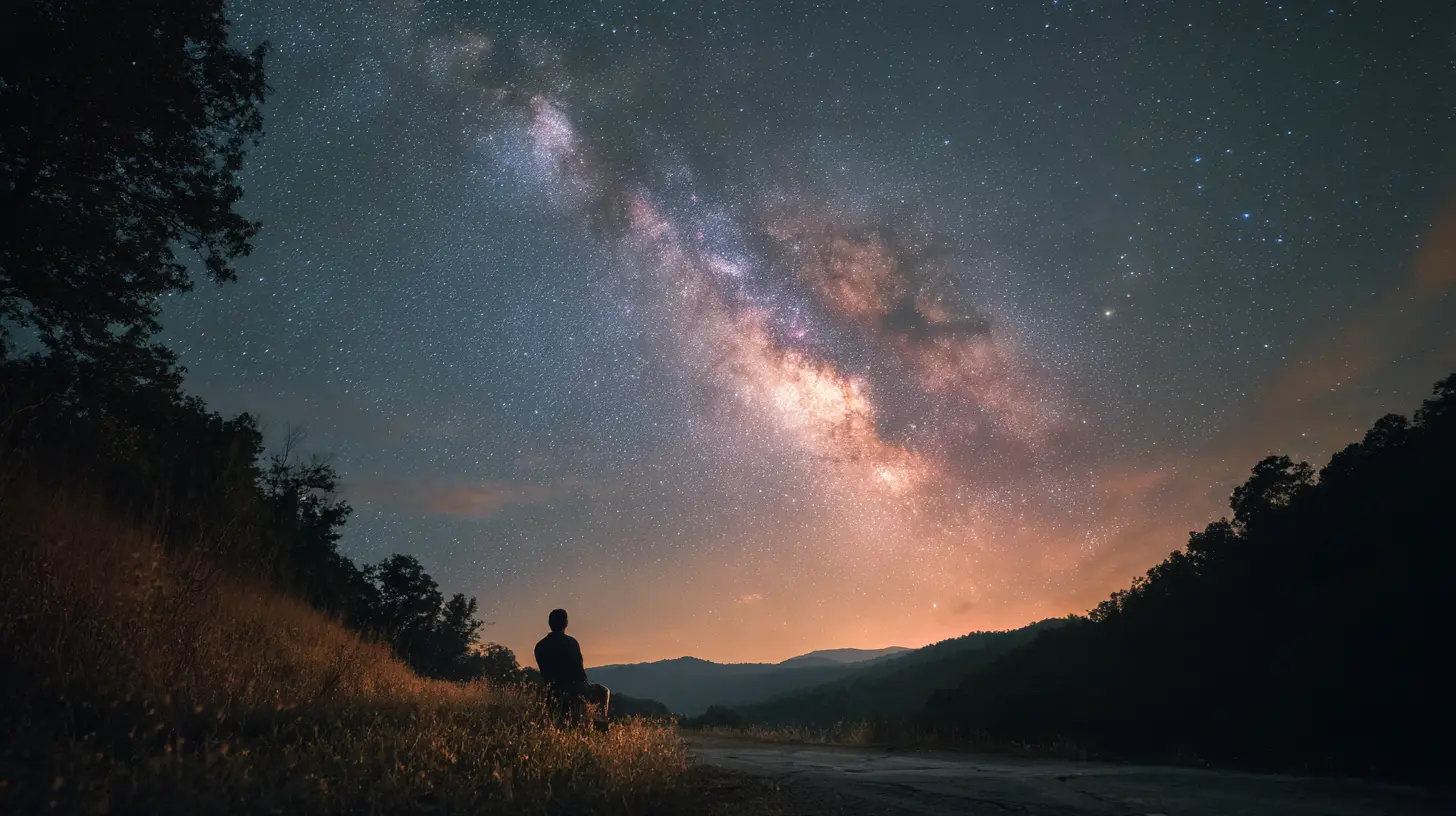
1. Choosing the Right Camera for Astrophotography
Before you start, the most crucial piece of equipment is, of course, your camera. Not all cameras are created equal when it comes to shooting the night sky.DSLR vs. Mirrorless Cameras
When it comes to astrophotography, you have two solid options:- DSLRs (Digital Single-Lens Reflex) – These cameras have larger sensors, good low-light performance, and the ability to swap lenses. Entry-level DSLRs like the Canon EOS Rebel T7i or Nikon D5600 work well for beginners.
- Mirrorless Cameras – These are lighter and often feature advanced sensor technology, making them great for night photography. Sony’s A7R IV or Canon’s EOS R6 are fantastic mirrorless options.
A full-frame sensor is ideal for capturing more light and reducing noise. Still, crop-sensor cameras can also produce stunning results with the right lens.
Astrophotography-Specific Cameras
If you're serious about deep-space photography, consider dedicated astrophotography cameras like the ZWO ASI294MC Pro. These cameras are designed to capture faint celestial details that regular cameras might miss.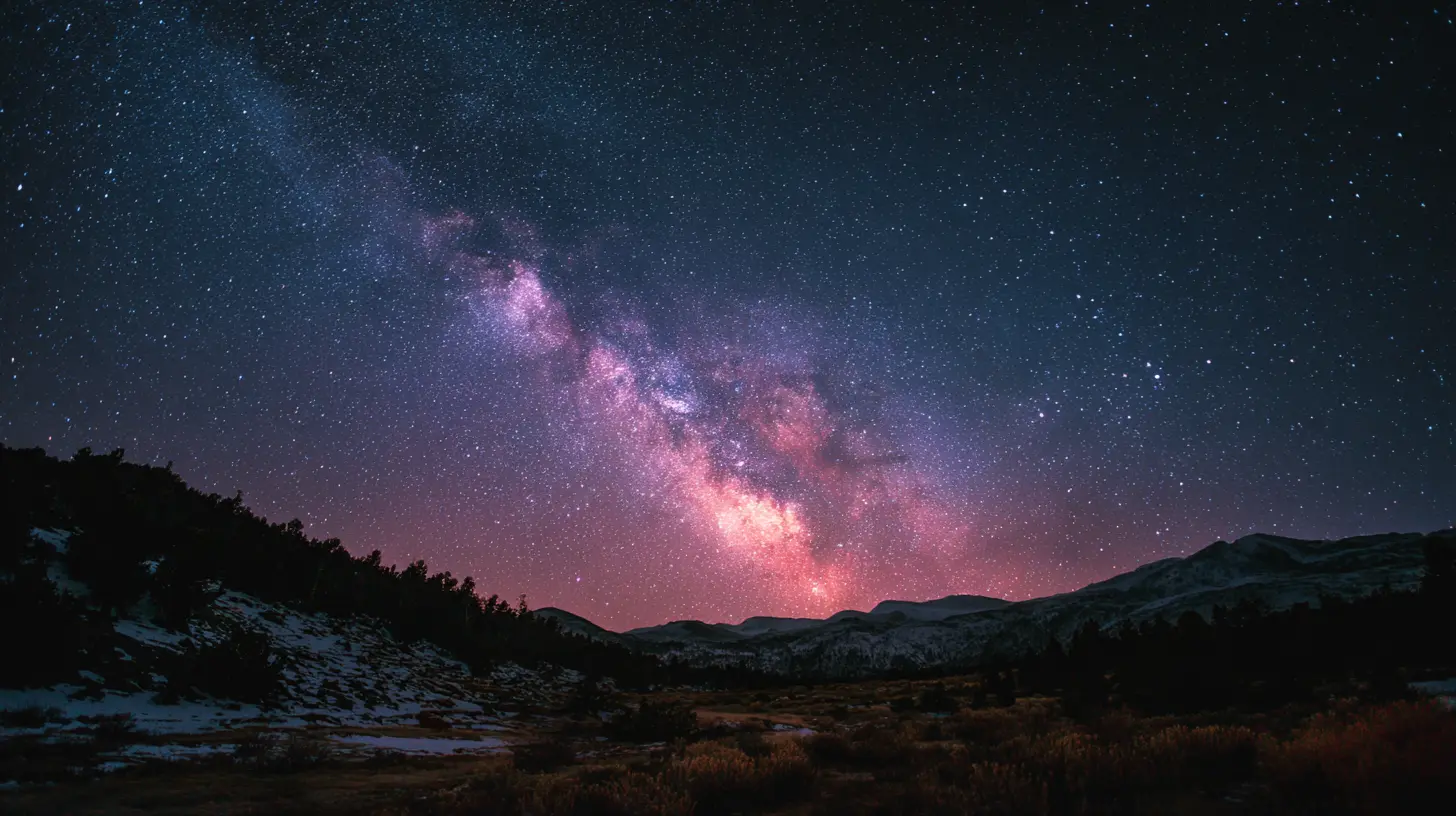
2. The Importance of Using the Right Lens
The lens you use can make or break your astrophotography shots. A bright, wide-aperture lens is key to capturing as much light as possible from the stars.Best Lenses for Astrophotography
- Wide-Angle Lenses – These are great for capturing broad nightscapes with stars and landscapes in the frame. A 14mm f/2.8 lens (like the Rokinon 14mm f/2.8) is a solid choice.- Low Aperture (Fast) Lenses – The lower the f-number, the more light the lens lets in. An f/2.8 or lower aperture is ideal for astrophotography.
- Telephoto Lenses – These help in capturing close-up views of the moon or planets. A 200mm or higher telephoto lens can bring celestial objects much closer to you.
Prime vs. Zoom Lenses
Prime lenses (fixed focal length) often produce sharper images than zoom lenses, making them the go-to for serious astrophotographers. If you're on a budget, a fast 50mm f/1.8 lens is an affordable, excellent starting point.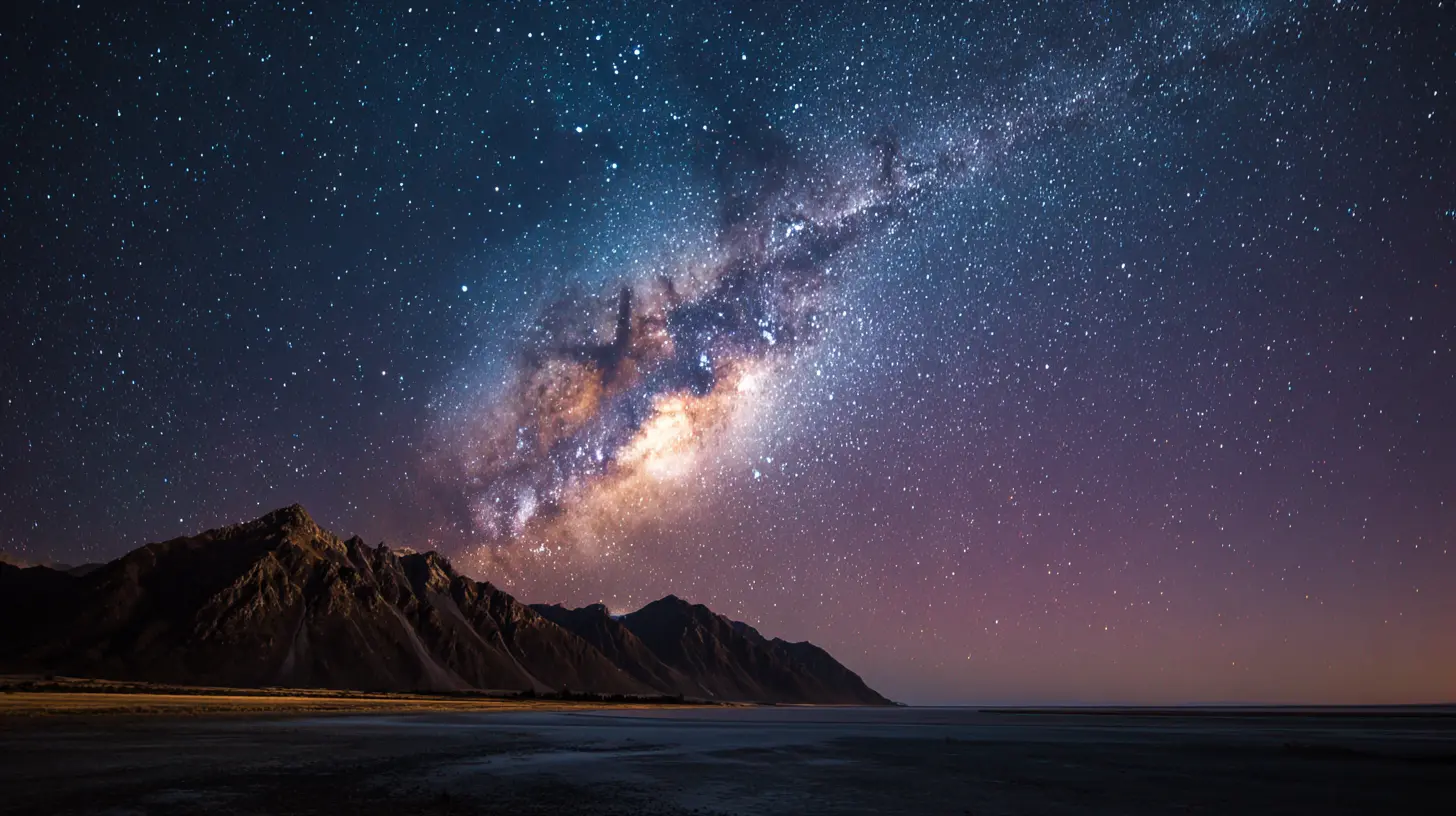
3. Essential Camera Settings for Astrophotography
Now that you have your camera and lens sorted, let's talk about settings. Unlike daytime photography, shooting at night requires some fine-tuning to get the best results.Key Settings to Use:
- Manual Mode (M) – Always shoot in manual mode to have full control over exposure.- ISO: 800-3200 – A higher ISO helps capture more light, but too high can introduce noise. Start around ISO 1600 and adjust as needed.
- Shutter Speed: 10-30 Seconds – Too long, and stars will start to streak due to Earth’s rotation. Follow the 500 Rule (500 / focal length = max shutter speed in seconds).
- Aperture: f/2.8 or Lower – Keep your aperture wide open to allow as much light as possible to hit the sensor.
- Manual Focus – Autofocus struggles in low light. Use Live View and manually adjust your focus until stars appear sharp.
4. The Importance of a Sturdy Tripod
Handholding your camera for astrophotography? Forget it. Even the slightest movement can blur your images. A sturdy tripod is a must.Tripod Buying Tips:
- Look for a heavy-duty aluminum or carbon fiber tripod to prevent vibrations.- Ensure it has adjustable legs for stability on uneven terrain.
- Consider a ball head mount for smooth positioning.
A weak, flimsy tripod will sabotage your shots—so invest in a solid one.
5. Why You Need a Star Tracker
If you plan to take deep-space shots or long-exposure Milky Way images, a star tracker is a game-changer.What Is a Star Tracker?
A star tracker is a motorized mount that moves with the Earth’s rotation, preventing stars from appearing as streaks in long exposures.Best Star Trackers for Beginners
- Sky-Watcher Star Adventurer 2i- iOptron SkyGuider Pro
With a star tracker, you can take longer exposures without worrying about star trails.
6. Essential Accessories for Better Shots
Remote Shutter Release
Even pressing the shutter button can shake your camera. A remote shutter release (wired or wireless) prevents this and allows you to take crisp shots.Dew Heater Strips
On cold nights, condensation can form on your lens. Dew heater strips prevent moisture buildup, ensuring clear images all night long.Headlamp with Red Light
Since your eyes take time to adjust to the dark, a headlamp with a red light keeps you hands-free without ruining your night vision.7. Shooting Techniques for Stunning Astrophotography
Scout for Dark Skies
Light pollution is the enemy of astrophotography. Use websites like LightPollutionMap.info to find dark-sky locations.Compose Your Shot Thoughtfully
Astrophotography isn’t just about the stars—a foreground element (like trees or mountains) can make your images more visually appealing.Experiment with Stacking
Stacking multiple images and blending them in post-processing using software like DeepSkyStacker can significantly reduce noise and enhance details.Use Apps for Night Sky Tracking
Apps like Stellarium or PhotoPills help plan your shots by showing you star alignments, moon phases, and the perfect time to shoot.8. Post-Processing for Astrophotography
Editing plays a massive role in astrophotography. Once you’ve captured your shots, you’ll want to bring out those incredible details.Software for Editing:
- Adobe Lightroom & Photoshop – Great for adjusting exposure, contrast, and colors.- DeepSkyStacker – Combines multiple images for better noise reduction.
- PixInsight – Professional-level astrophotography processing.
Boost clarity and contrast, adjust white balance, and enhance details to make your stars pop.
9. Practice and Patience Are Key
Astrophotography takes time to master—but don’t be discouraged! Your first shots may not be perfect, but with practice, you’ll improve dramatically.Every time you shoot, you’ll learn something new. Adjust your settings, try different locations, and most importantly—have fun with the process.
So, grab your camera, head out into the night, and start capturing the universe!
Final Thoughts
Astrophotography is one of the most rewarding forms of photography. It not only allows you to capture the beauty of the cosmos but also deepens your appreciation for the night sky. With the right gear, proper settings, and a bit of patience, you’ll be well on your way to capturing stunning celestial images.Happy shooting, and clear skies!
all images in this post were generated using AI tools
Category:
Camera GearAuthor:

Kira Sanders
Discussion
rate this article
2 comments
Elowen Lane
Great tips here! The right gear can make a huge difference in astrophotography. Can't wait to try out some of these recommendations under the night sky.
May 20, 2026 at 11:41 AM
Camden Bishop
Really enjoyed this article on astrophotography gear. The tips on choosing the right camera and lenses are super helpful. Can't wait to try out the recommended settings and capture some amazing night sky shots. Thanks for sharing these insights!
May 7, 2026 at 12:44 PM
Kira Sanders
I'm glad you found the article helpful! Enjoy capturing those night sky shots. Happy shooting!