How to Record and Edit Your PC Gameplay for YouTube
22 March 2026
Have you ever pulled off an insane headshot or made some crazy 200 IQ play in your favorite game and thought, "I wish I had that recorded!"? Well, you’re not alone. More and more gamers are jumping into the world of content creation on YouTube, showcasing their best moments, walkthroughs, and tutorials. But recording and editing high-quality gameplay isn’t as simple as just pressing a button.
In this guide, I'll walk you through how to record and edit your PC gameplay like a pro, so you can start making amazing gaming content for YouTube. 
1. Choosing the Right Software for Recording
Before you start recording, you need the right tool for the job. There are a ton of screen recording software options, both free and paid, so choosing the right one depends on your needs and PC specs.Best Screen Recording Software for Gaming
Here are some of the best options available:- OBS Studio (Free) – One of the most popular choices among gamers. It’s free, open-source, and packed with customization options.
- NVIDIA ShadowPlay (Free for NVIDIA Users) – If you’ve got an NVIDIA GPU, this one’s built-in and great for minimal performance impact.
- AMD Radeon ReLive (Free for AMD Users) – Similar to ShadowPlay but for AMD users.
- Bandicam (Paid/Free with Watermark) – Simple and effective but has a watermark unless you pay.
- XSplit Gamecaster (Paid) – Great for streaming, but also works well for recording.
If you're just starting, OBS Studio is the way to go. It’s powerful, completely free, and widely used by professionals.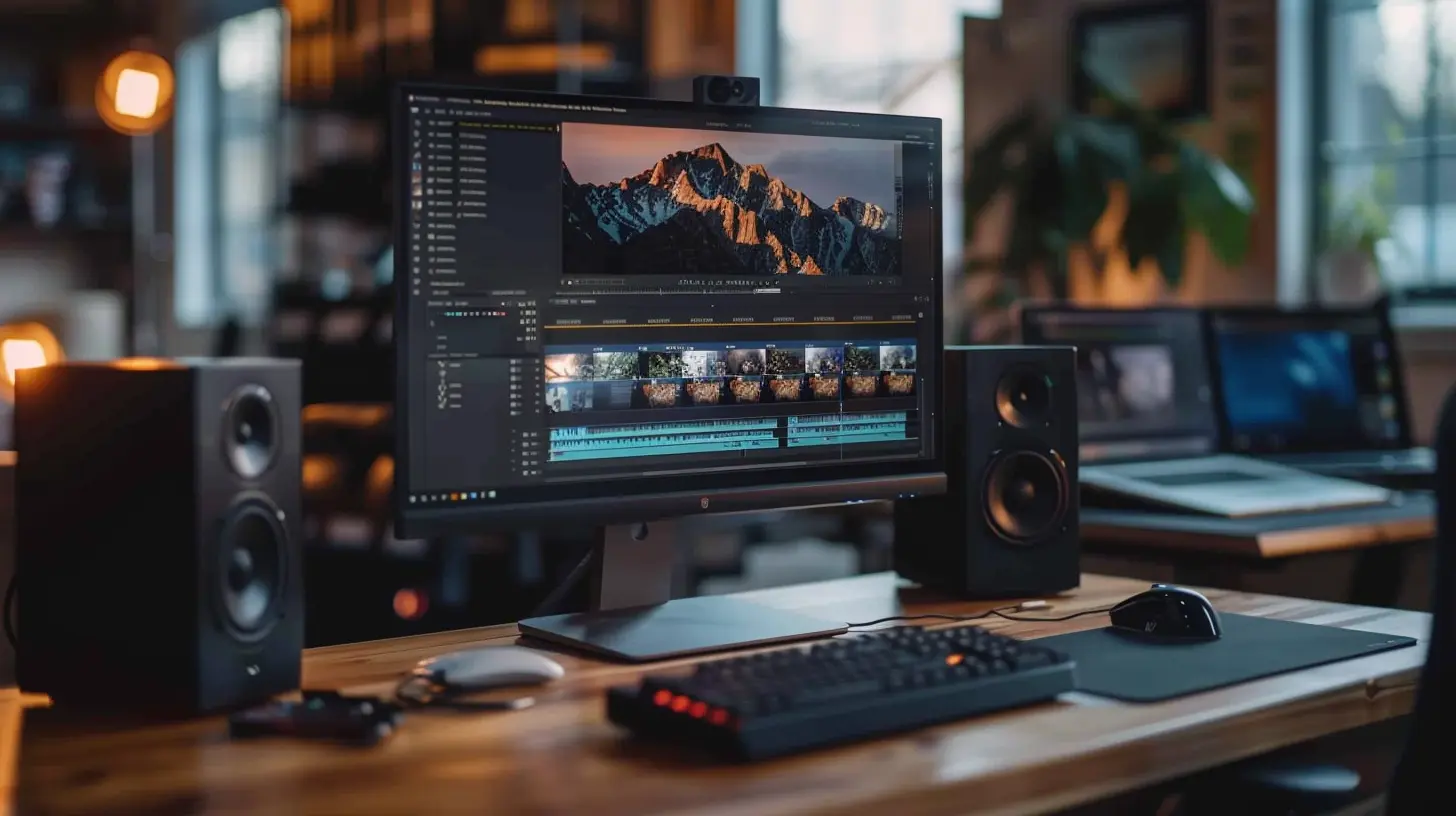
2. Optimizing Your Recording Settings for High-Quality Videos
If you want your gameplay videos to look crisp and smooth, you’ll need to tweak your recording settings. Here’s what to focus on:1. Resolution and FPS (Frames Per Second)
- 1080p at 60 FPS is the sweet spot for most YouTube gaming content. It offers great quality without huge file sizes.- If your PC can handle it, 1440p or even 4K is even better but requires more storage and processing power.
2. Bitrate Matters
- A higher bitrate = higher quality, but also larger file sizes. Here’s a general guide:- 1080p 60FPS → 12,000-14,000 kbps
- 1440p 60FPS → 20,000-25,000 kbps
- 4K 60FPS → 40,000-60,000 kbps
3. File Format
- MP4 (H.264 codec) is the best format for YouTube uploads. It balances quality and file size well.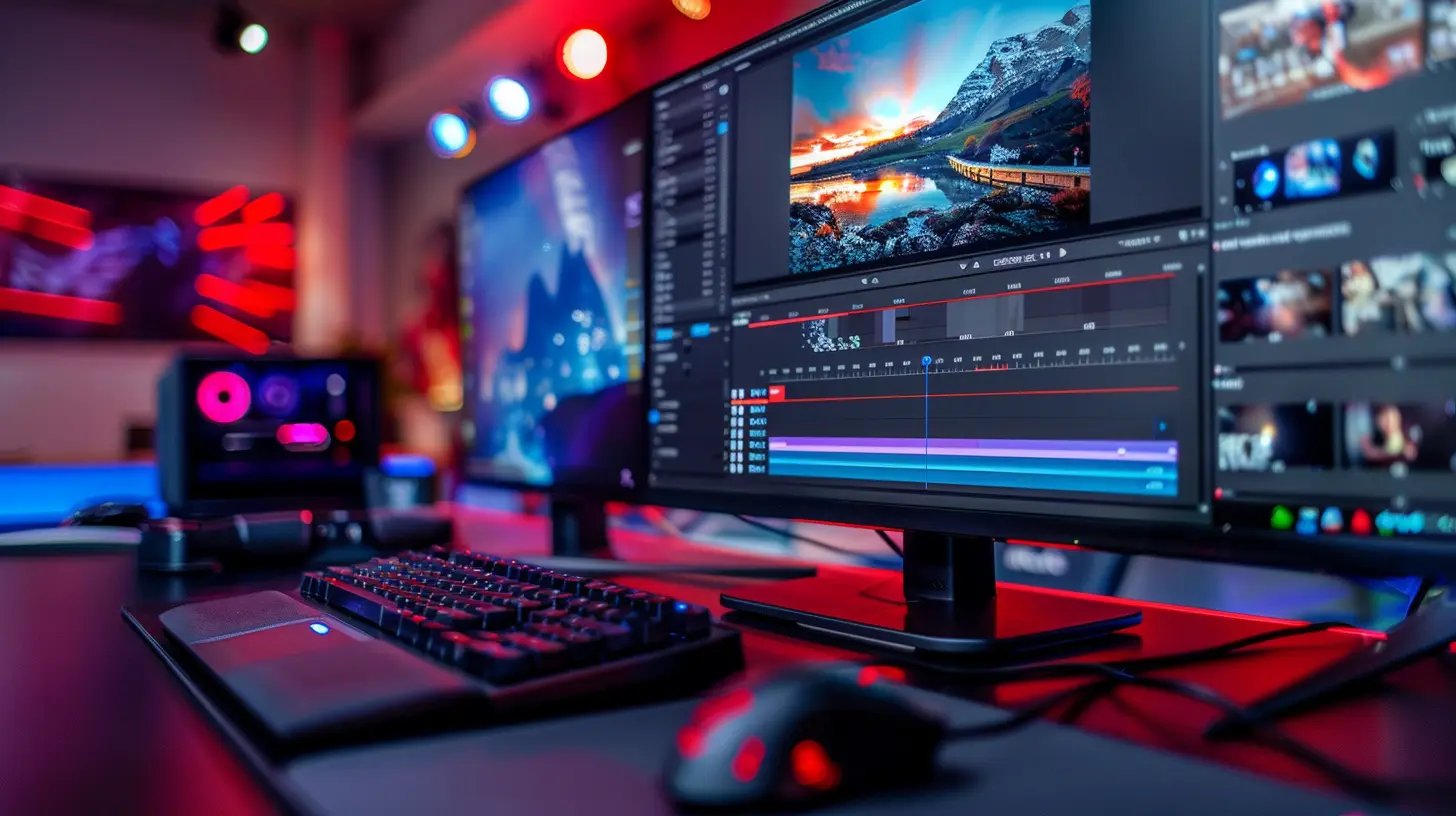
3. Setting Up Your Audio for Crystal Clear Commentary
Gameplay is important, but so is your voice. No one wants to watch a video with bad audio.Microphone Setup
- Use a USB condenser microphone like the Blue Yeti or Rode NT-USB for clear voice quality.- If you’re on a budget, even something like the Fifine K669B is a great start.
Noise Reduction
- Record in a quiet room to minimize background noise.- Use NVIDIA RTX Voice or Krisp.ai to filter out unwanted sounds.
Separate Audio Tracks
- If possible, record game audio and microphone audio separately. This gives you more control when editing. OBS Studio allows separate audio tracks, which is a huge help.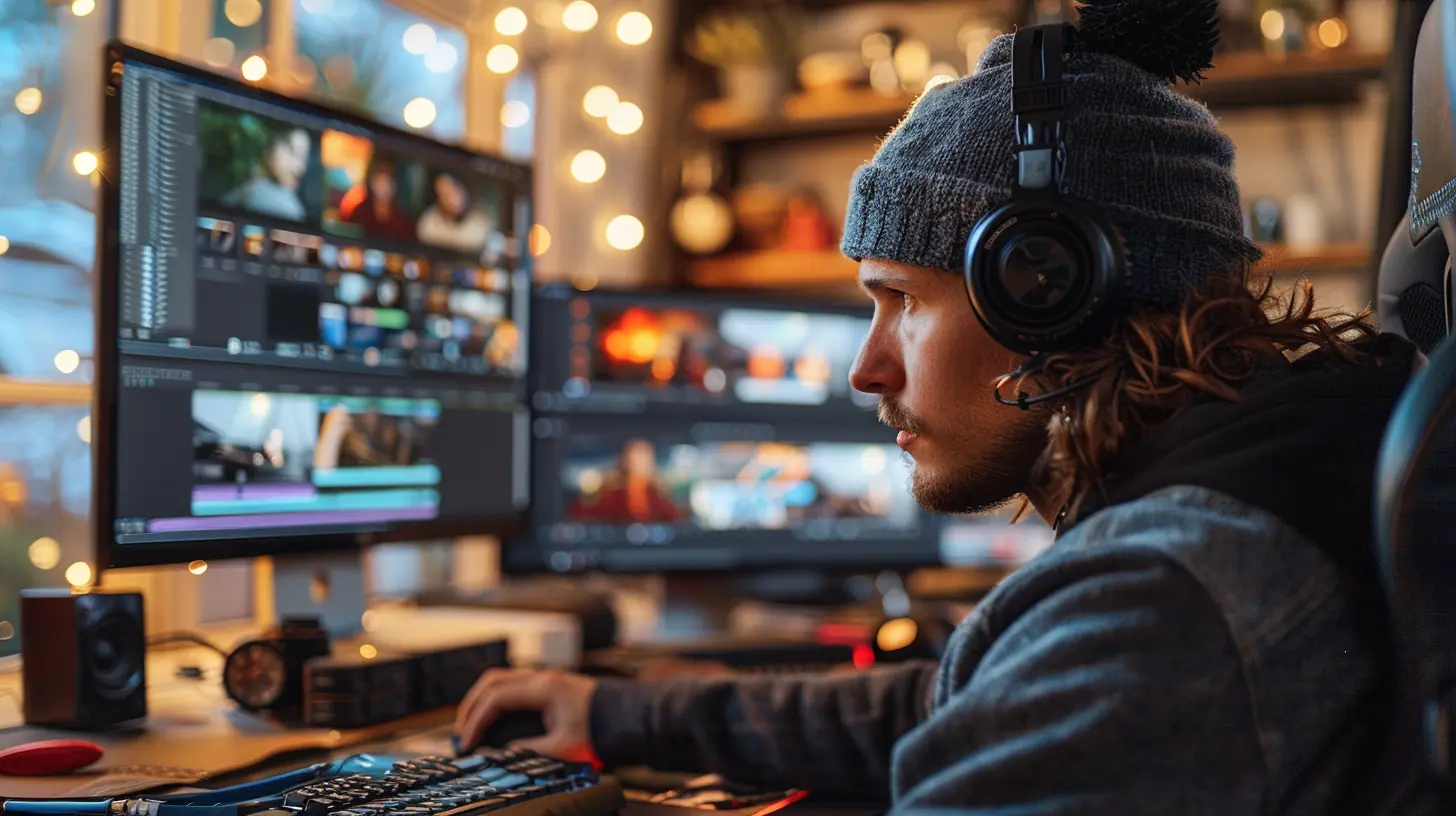
4. Recording Your Gameplay Like a Pro
Now that your settings are dialed in, it’s time to hit that record button. But before you do, here are some tips:1. Close Unnecessary Background Applications
- Running apps like Chrome or Discord in the background can eat up CPU and RAM. Shut them down before recording for smoother performance.2. Use Hotkeys for Efficiency
- Set up hotkeys to start/stop recording so you don’t fumble around while playing.3. Do a Test Recording
- Before recording a full session, do a 1-minute test to make sure your audio and video settings are working perfectly.5. Editing Your Gameplay for Maximum Impact
Once you’ve recorded your gameplay, it’s time to bring it to life through editing. A well-edited video makes all the difference in keeping viewers engaged.Best Video Editing Software for Gaming
- Adobe Premiere Pro (Paid) – Professional-grade software with tons of features.- DaVinci Resolve (Free/Paid) – A free editor with powerful tools for color grading and effects.
- Sony Vegas Pro (Paid) – Popular among gaming YouTubers for its ease of use.
- HitFilm Express (Free) – A solid free option with decent features.
- CapCut (Free) – Simple, effective, and great for beginners.
6. Basic Editing Techniques to Enhance Your Gameplay Videos
1. Trim the Boring Parts
- No one wants to watch you walk around for five minutes doing nothing. Cut out dull moments and keep only the exciting parts.2. Use Transitions & Zoom Effects
- Smooth transitions between clips make your video feel polished.- Zoom-in effects on key moments help emphasize reactions or important gameplay moments.
3. Add Commentary & Subtitles
- If you’re explaining a strategy or reacting to a moment, consider adding subtitles so viewers can follow along even without sound.4. Overlay Your Facecam (Optional)
- If you want to add a personal touch, recording your reactions with a webcam can make your videos more engaging.5. Include Background Music & Sound Effects
- Adding background music at a low volume keeps the video from feeling too empty.- Use sound effects to emphasize big moments (e.g., a "whoosh" sound on a cut or a "ding" when you score a point).
7. Rendering and Uploading to YouTube
Once you’ve edited your video, it’s time to export and upload it.Best Export Settings for YouTube
- Format: MP4- Resolution: 1080p or higher
- Frame Rate: Match your recording (usually 60 FPS)
- Bitrate: Around 16-20 Mbps for 1080p, higher for 1440p or 4K
Uploading to YouTube
1. Write an Engaging Title – Use keywords that match what people search for (e.g., “How to Record PC Gameplay in 1080p 60FPS for YouTube”).2. Create a Clickable Thumbnail – Thumbnails matter! Use bold text and eye-catching images.
3. Write a SEO-Friendly Description – Include game names, “how to” keywords, and timestamps.
4. Use Tags & Hashtags – Helps YouTube recommend your content.
Final Thoughts
Recording and editing your PC gameplay for YouTube may seem overwhelming at first, but once you get the hang of it, it becomes second nature. Take the time to experiment with different recording settings, find an editing style that fits your personality, and most importantly—have fun creating content!Who knows? With enough practice and consistency, your gaming videos might just blow up on YouTube. Now, go start recording and make some epic content!
all images in this post were generated using AI tools
Category:
Pc GamingAuthor:

Kira Sanders
Discussion
rate this article
2 comments
Zadie Martin
Great insights! This guide will definitely help aspiring YouTubers enhance their gameplay recordings.
March 25, 2026 at 3:57 AM
Kira Sanders
Thank you! I'm glad you found the guide helpful for aspiring YouTubers. Happy recording!
Kimberly McGonagle
Unleash your creativity and share your gaming journey! Recording and editing your gameplay is an exciting way to inspire others. Go for it!
March 24, 2026 at 1:07 PM