How to Overclock Your GPU for Better Gaming Performance
10 April 2026
So you’ve got a beefy graphics card, but your favorite games still stutter, lag, or don't quite hit that magical 144 fps sweet spot. Frustrating, right? Here’s where GPU overclocking steps in—a bit like giving your graphics card a double espresso shot. It’s all about squeezing every last drop of performance out of your existing hardware. And the good news? It’s not as complicated (or risky) as you might think.
In this deep-dive guide, I’ll walk you through how to overclock your GPU for better gaming performance, step-by-step. Whether you’re a total newbie or a tech tinkerer, you’ll leave this guide knowing exactly how to boost your graphic horsepower without frying your rig. Let’s fire things up!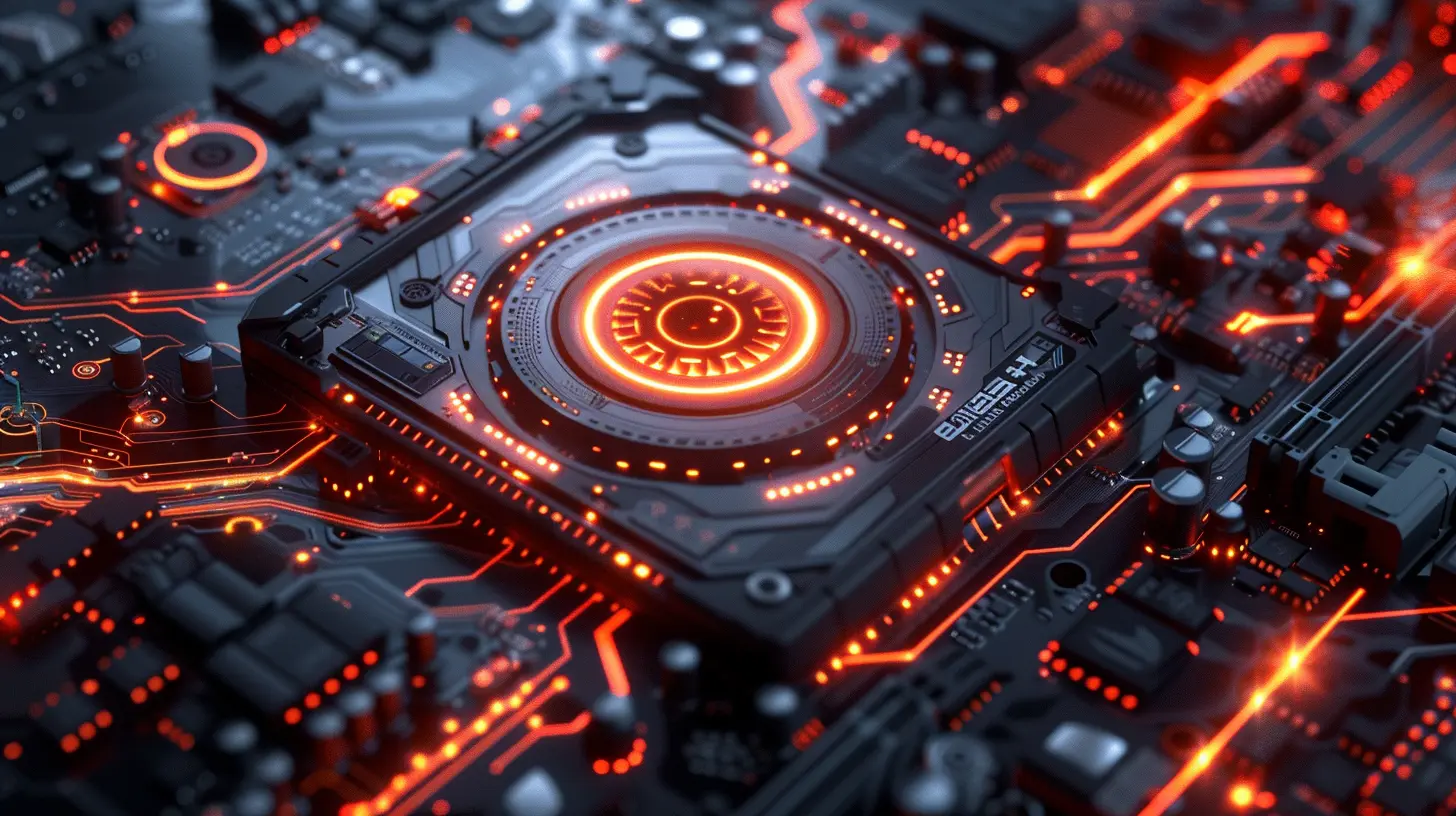
⚡ What Is GPU Overclocking?
Let’s break it down real simple.Overclocking your GPU means manually increasing its core clock speed (and possibly memory speed) to make the card perform faster than what the manufacturer initially intended. Think of it like pushing your car a little harder to get more speed—without upgrading the engine.
But why would a manufacturer underclock a card in the first place? Mostly for safety and longevity. Manufacturers play it safe by setting conservative frequencies that work for the average user and under various conditions. But if you’re feeling a little adventurous, there’s definitely room to push that limit.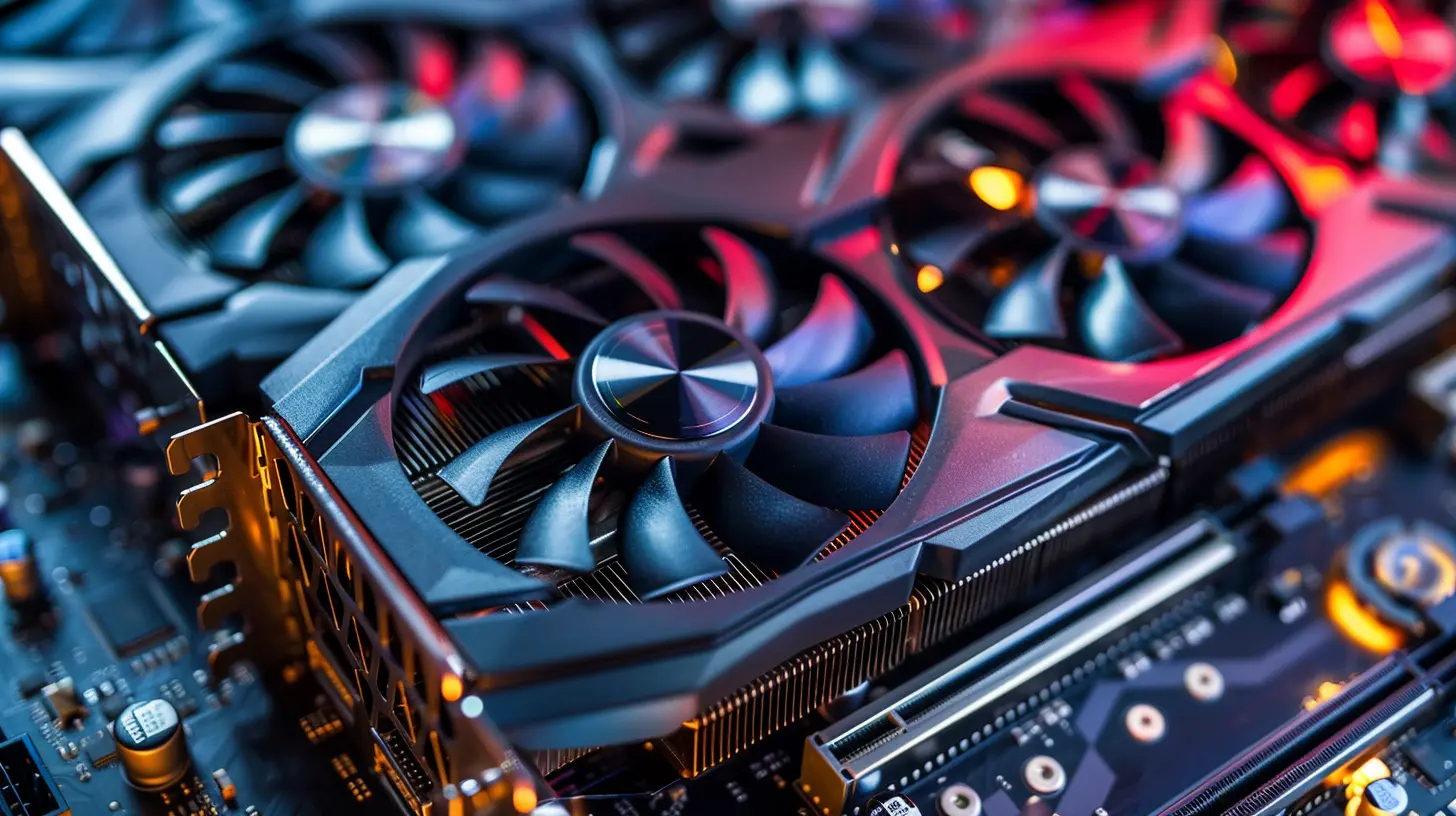
🎮 Why Overclock Your GPU?
Sure, GPU overclocking isn’t for everyone. But if you’re chasing smoother gameplay, faster frame rates, or just want to milk every ounce of value from your hardware—overclocking is a game-changer (pun totally intended).Here’s what you stand to gain:
- Increased FPS (frames per second) in games
- Smoother gameplay in demanding titles
- Improved rendering times for video editing or 3D work
- Better hardware utilization without spending a dime
That being said, overclocking isn’t magic. You’re not going to turn a mid-tier 1060 into a beastly 4090. But a 10–15% performance bump? Totally within reach.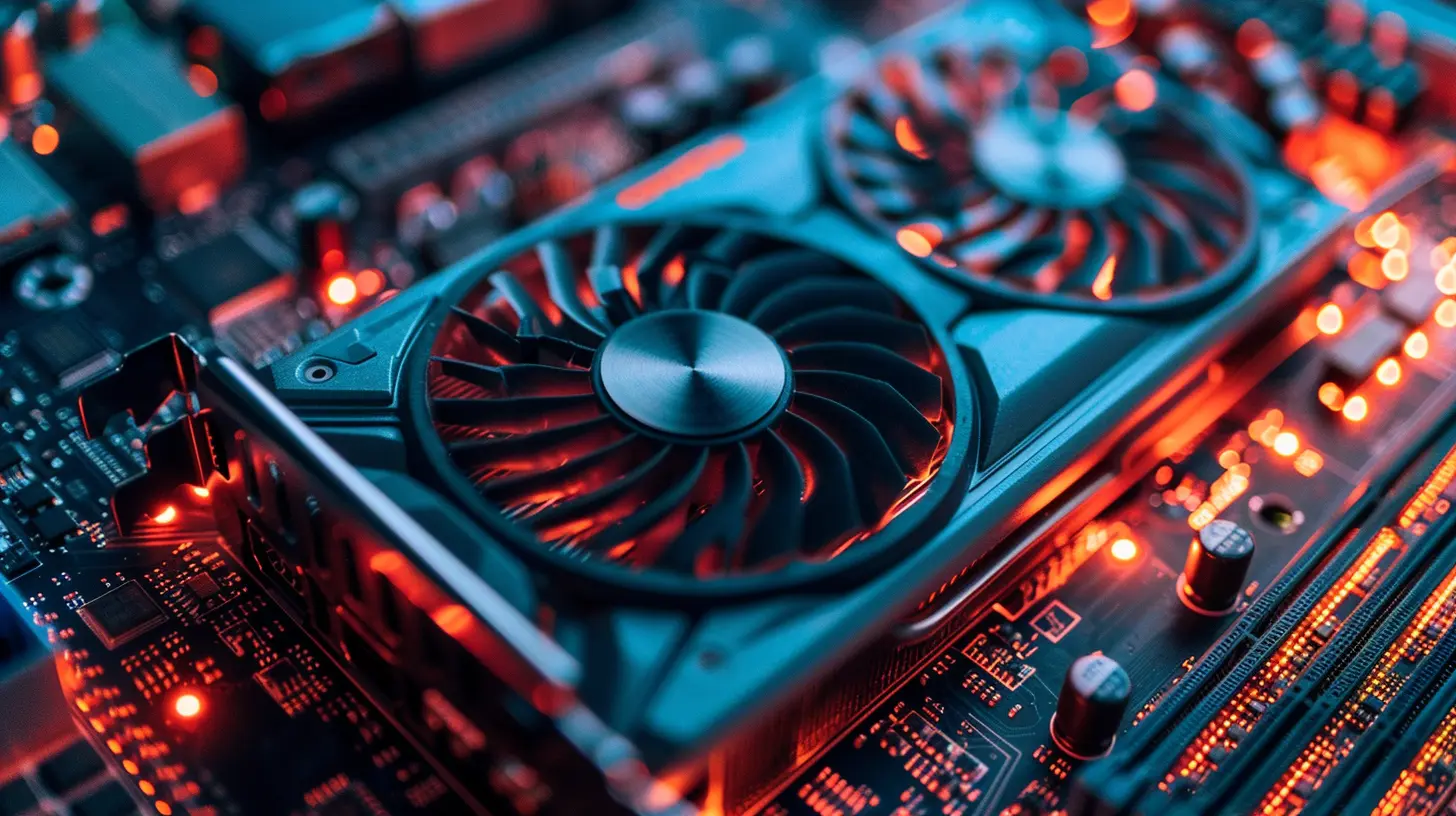
⚠️ The Risks You Should Know
Okay, full transparency—this isn’t all sunshine and unicorns. Overclocking does come with a few risks, especially if you’re careless.Here’s what to keep in mind:
- Heat: More clock speed = more heat. Without proper cooling, you could damage your GPU.
- System instability: Push it too far, and you may experience crashes, black screens, or graphical artifacts (weird lines or glitches).
- Reduced lifespan: Over time, constantly running your GPU at higher speeds can wear it out faster.
- Warranty concerns: Some manufacturers might void your warranty if they detect overclocking.
But here’s the thing—if you’re careful, monitor temps, and make incremental changes, the risks are minimal. It’s like tuning your car; don’t go full throttle on day one.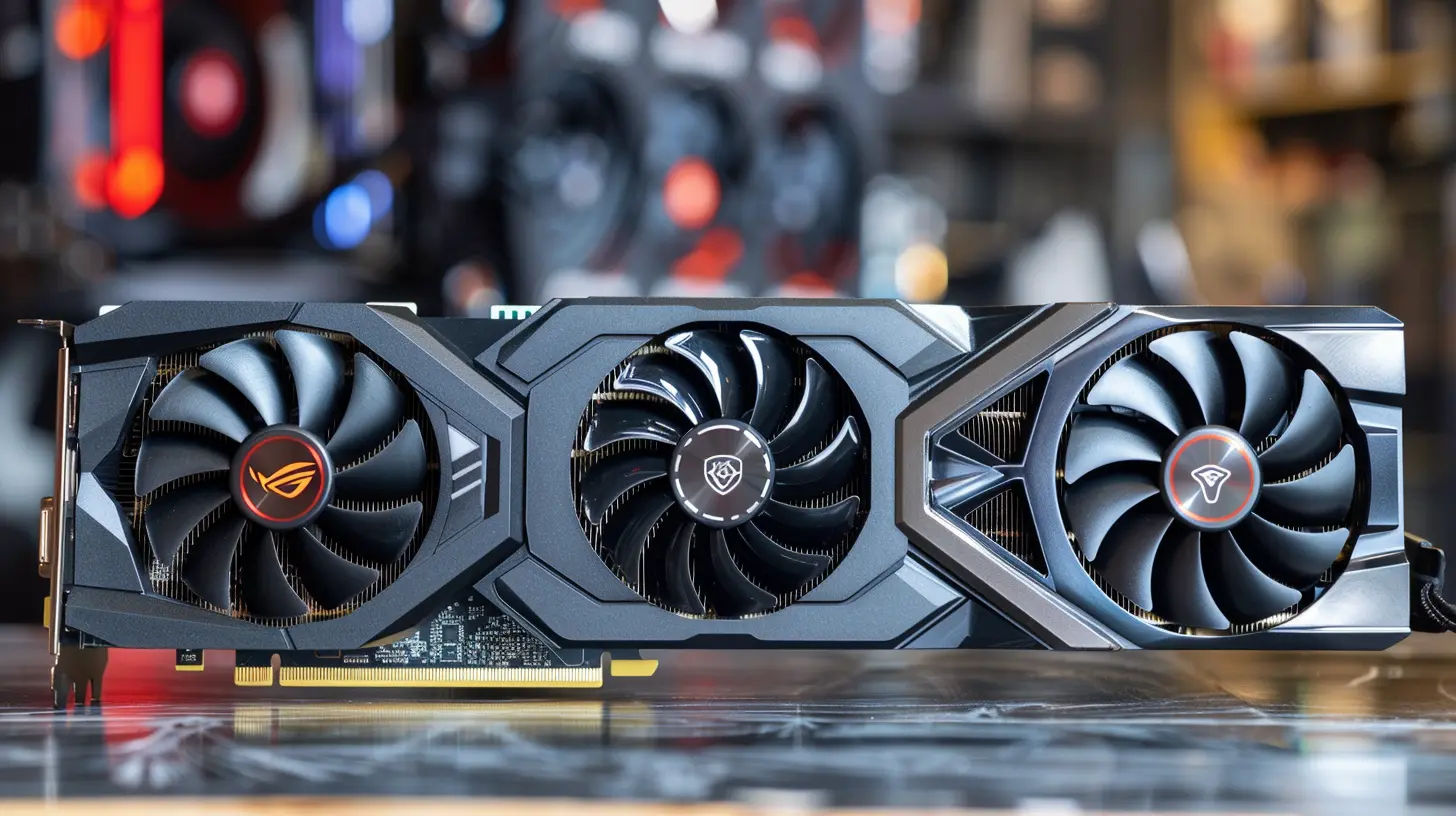
🛠️ What You’ll Need Before You Start
Before diving in, let’s stock the toolbox. You don’t need a pile of fancy gear, just a few key programs:1. MSI Afterburner: The gold standard for GPU overclocking. Super user-friendly and supports most GPUs.
2. GPU-Z: Helps you monitor real-time GPU stats like temperature, clock speed, and power draw.
3. Heaven Benchmark or 3DMark: Stress tests your new settings to make sure they’re stable.
4. HWMonitor: Great for tracking temperatures and voltages system-wide.
Make sure your drivers are up to date—this makes a huge difference in performance and compatibility.
🔍 Step-by-Step: How to Overclock Your GPU
Step 1: Set a Baseline
Before tweaking anything, run a benchmark test using Heaven or 3DMark. This gives you a baseline to compare after you've made changes.Take note of:
- Average FPS
- Max temp during test
- GPU usage %
This way, you'll know exactly how much you’re improving—and what effect it’s having on your hardware.
Step 2: Open MSI Afterburner
Once installed, MSI Afterburner shows you a dashboard with sliders for:- Core Clock (MHz)
- Memory Clock (MHz)
- Fan Speed (%)
- Power Limit (%)
- Voltage (optional for advanced users)
For now, we’re focusing on Core Clock and Memory Clock.
Step 3: Increase Power Limit & Temp Limit
Before boosting the clock speed, slide up those Power Limit and Temp Limit bars.- Crank Power Limit to max (usually 110% or so)
- Bump Temp Limit to around 85°C (or use your preference)
This gives your GPU a little breathing room to handle the extra workload.
Step 4: Core Clock – Baby Steps First
Start by increasing your Core Clock by +25 to +50 MHz.Then run a stress test. If everything’s stable (no crashes, weird visuals, or freezes), bump it up another +25 MHz.
Repeat this process until you start seeing signs of instability. That’s your "ceiling." When that happens, dial it back by 10–20 MHz to stay in the safe zone.
Pro Tip: Don’t go for big jumps. Think of it like seasoning—you can always add more, but you can’t take it out.
Step 5: Memory Clock – The Cherry on Top
Same rules apply. Start incrementally—+50 MHz, test, rinse, repeat. Memory overclock can also lead to performance boosts, especially in games with high-res textures.Watch for signs of instability like:
- Flickering
- Color shifts
- Random crashes
Find your limit, and ease back if needed.
Step 6: Fine-Tune the Fan Curve
Overclocking means more heat. You can manually adjust your fan curve in Afterburner to keep things cool.Set your fans to kick in earlier or harder as temps rise. For example, set the fan to hit 70% once GPU temp reaches 70°C.
Yes, it's louder—but silence is overrated if your GPU is melting, right?
Step 7: Save Your Profile
Once you’re happy with the settings, save your overclock profile in MSI Afterburner. This way, it loads every time you boot, and you don’t have to redo things from scratch.Step 8: Final Stability Test
Run a longer stress test—at least 15 to 30 minutes. Play a few demanding games, ideally the ones you’re optimizing for.If all goes well with no hiccups, congrats—you’ve successfully overclocked your GPU!
📈 What Performance Gains to Expect?
So, what kind of results are we talking?On average, a well-done GPU overclock might give:
- 10–20 FPS boost
- 5–15% improvement in benchmark scores
- Smoother gameplay in GPU-constrained scenarios
It’s not a miracle cure, but when you add this up across your entire library of games? Totally worth it.
🧊 Keeping Things Cool
Here’s the deal—heat is your biggest enemy during overclocking. If your GPU is getting toasty, perform a little DIY cooling audit:- Clean your case fans and GPU heatsinks
- Make sure airflow isn’t blocked
- Consider adding or upgrading fans
- Apply fresh thermal paste if your GPU is older
The cooler your GPU runs, the more headroom you’ll have to overclock safely.
🧠 Pro Tips and Tricks
Want to get even sharper? These tips can push your overclocking journey to the next level:- Don’t use auto-overclock tools: They sound convenient but often push your GPU too hard.
- Avoid voltage tweaks unless experienced: Messing with voltage can fry your GPU if you’re not super careful.
- Benchmark after each change: Always know the impact of your tweaks.
- Overclock for YOUR games: Some games benefit more than others. Target the ones you actually play.
❓ Is It Safe to Overclock?
Short answer? Yes.Long answer? Yes—if you’re smart about it.
Modern GPUs are designed with safety features like thermal throttling and crash protection. Worst-case scenario? Your PC restarts, and you dial things back a bit.
So don’t stress. If you take it slow, monitor closely, and use the right tools—you’re good to go.
👋 Final Thoughts
Overclocking your GPU is like unlocking a hidden level in your graphics card. You're not hacking the system—just using a little know-how to go beyond factory limits.Sure, it takes some trial and error. You’ll have to get cozy with sliders, benchmarks, and maybe a few restarts. But the payoff? Smoother games, higher FPS, and a deeper understanding of your rig.
So what are you waiting for? Fire up Afterburner, grab that benchmark, and give your games the performance boost they deserve.
Game on, my friend.
all images in this post were generated using AI tools
Category:
Pc GamingAuthor:

Kira Sanders
Discussion
rate this article
2 comments
Christopher Mason
Great tips! Excited to boost my gaming!
April 16, 2026 at 11:15 AM
Kira Sanders
Thanks! Glad you found the tips helpful. Enjoy the boost in your gaming!
Harlow McLaurin
Great guide on GPU overclocking! The step-by-step instructions are easy to follow, and the tips on monitoring temperatures are particularly helpful. Just remember to proceed with caution to avoid overheating. Thanks for sharing valuable insights for enhancing gaming performance!
April 12, 2026 at 5:00 AM
Kira Sanders
Thanks for the feedback! I'm glad you found the guide helpful. Always important to stay cautious while overclocking. Happy gaming!