How to Choose the Perfect Travel Tripod in 2027
18 September 2026
A travel tripod is one of those purchases that feels simple until you actually start shopping. Suddenly you are drowning in specs: carbon fiber versus aluminum, ball heads versus pan heads, twist locks versus flip locks, payload ratings, folded lengths, leg sections, and price tags that range from lunch money to a used car payment. Most buying guides throw the same specs at you and call it a day. That does not help you decide.
This guide takes a different approach. Instead of listing features, we are going to walk through the actual decisions you need to make, why each one matters, when it matters, and when you should ignore it entirely. By the end, you will know exactly what kind of tripod fits your photography, your travel style, and your budget.
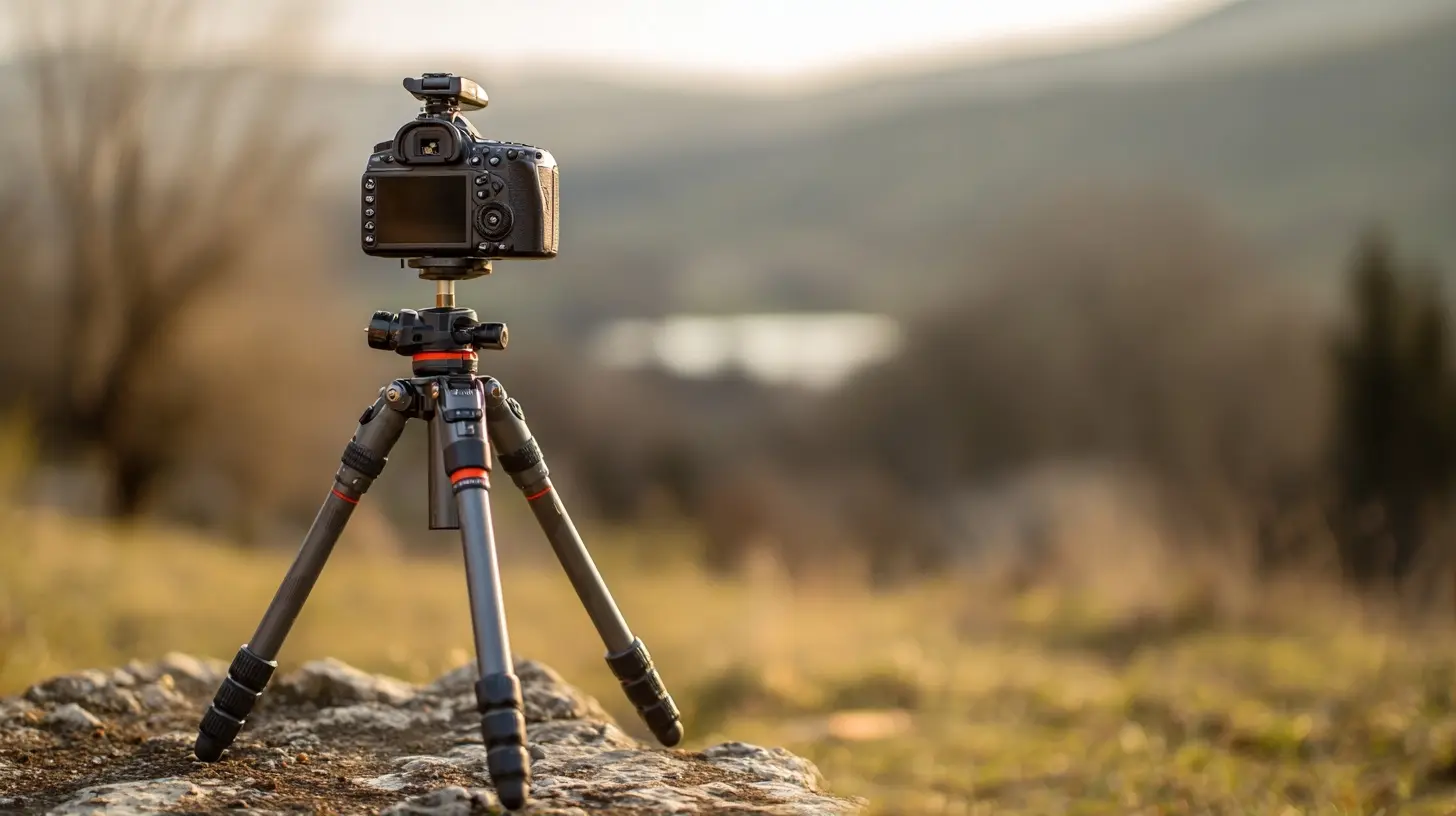
Start With the Real Question: What Problem Are You Solving?
Before you look at a single product, answer this: what is the tripod actually for?A tripod solves one core problem, which is holding your camera perfectly still so you can use a slow shutter speed, a long lens, or a precise composition without handshake ruining the shot. But the specific version of that problem changes everything about what you should buy.
Consider three very different travelers:
The city photographer shooting architecture at dusk needs stability for two to eight second exposures. Weight matters less because they are not hiking far. Height matters a lot because they want eye-level framing without crouching.
The backpacker shooting landscapes on a multi-day trek needs something that disappears into a pack. Every gram counts. They will often shoot at sunrise in wind, so stability still matters, but they will accept a shorter maximum height to save weight.
The vlogger or hybrid shooter needs quick setup, a smooth panning head for video, and often a phone or compact camera mount. Absolute rigidity matters less than speed and fluidity.
These three people should not buy the same tripod. Yet most shoppers buy based on a single number, usually weight or price, and end up frustrated. Decide which traveler you are first.
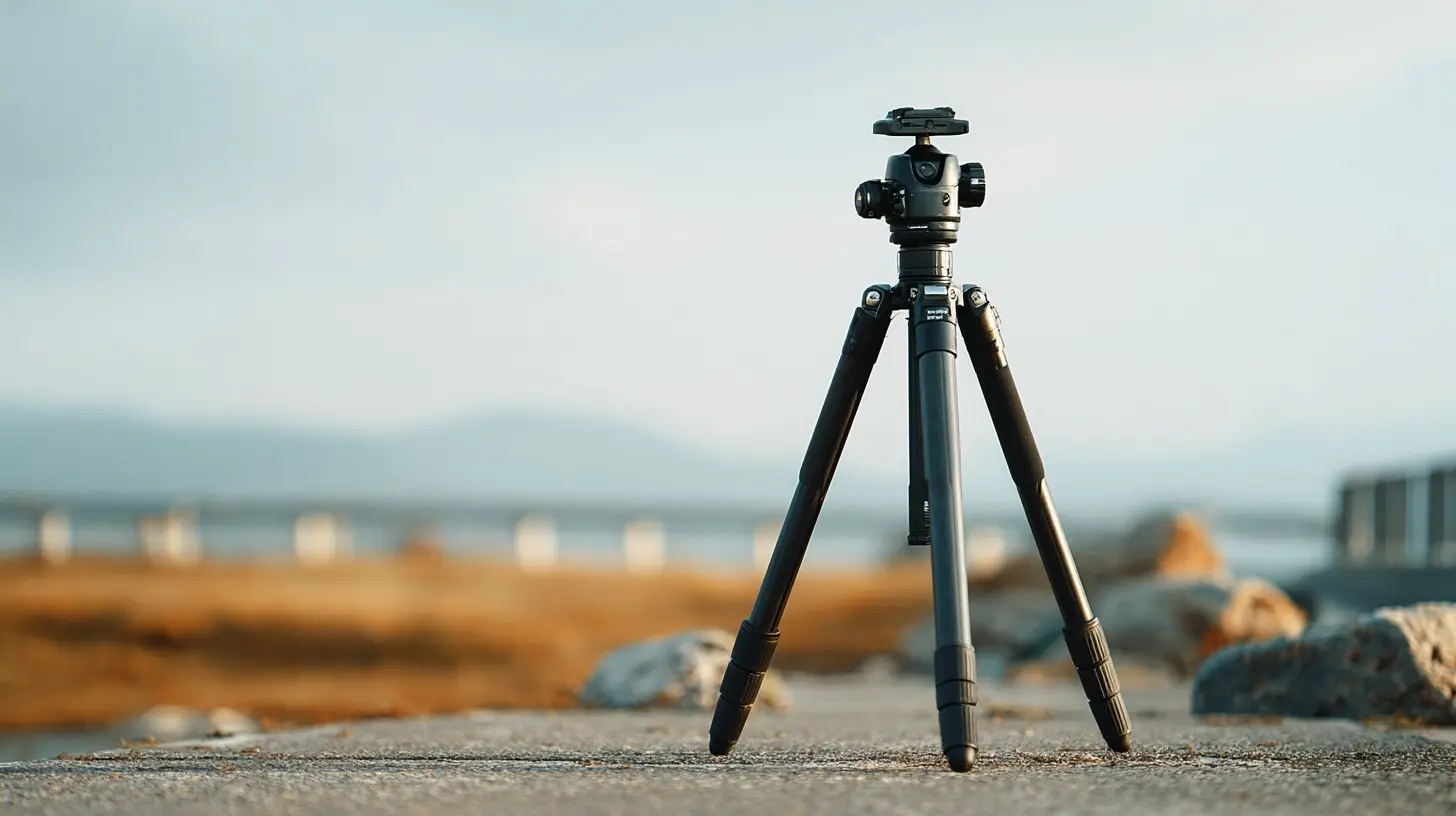
The Weight Versus Stability Trade-Off (The Central Tension)
Every tripod decision circles back to one fundamental conflict: lighter tripods are less stable.This is physics, not marketing. A heavier tripod resists vibration because it has more mass to absorb it. A lighter tripod, especially one with thin carbon legs, will flex and transmit vibrations from wind, footsteps, or even your own shutter release.
Here is the nuance most guides miss. Stability is not just about weight. It is about the combination of mass, leg stiffness, joint quality, and how high you extend the center column. A well-built 1.2 kilogram carbon tripod can outperform a cheap 2 kilogram aluminum one because the carbon legs damp vibrations better and the joints lock tighter.
So the real question is not "how light can I go" but "how light can I go before stability drops below what my shooting requires."
As a rough guide:
- If you shoot mostly in good light with shutter speeds above 1/60 second, you can go very light.
- If you shoot long exposures, use telephoto lenses, or work in wind, you need more mass or more rigidity.
- If you shoot video with panning moves, head smoothness matters more than leg weight.
When Lightweight Is Worth It
Lightweight wins when you are carrying the tripod for hours and would otherwise leave it at home. The best tripod is the one you actually bring. A two kilogram tripod that stays in your hotel room is worse than a one kilogram tripod that comes with you.When Lightweight Hurts You
Lightweight hurts when you push it too far. A sub-one-kilogram tripod with a tall center column extended in a breeze will produce soft images no matter how good your technique is. If your work depends on sharpness, do not sacrifice stability for a number on a spec sheet.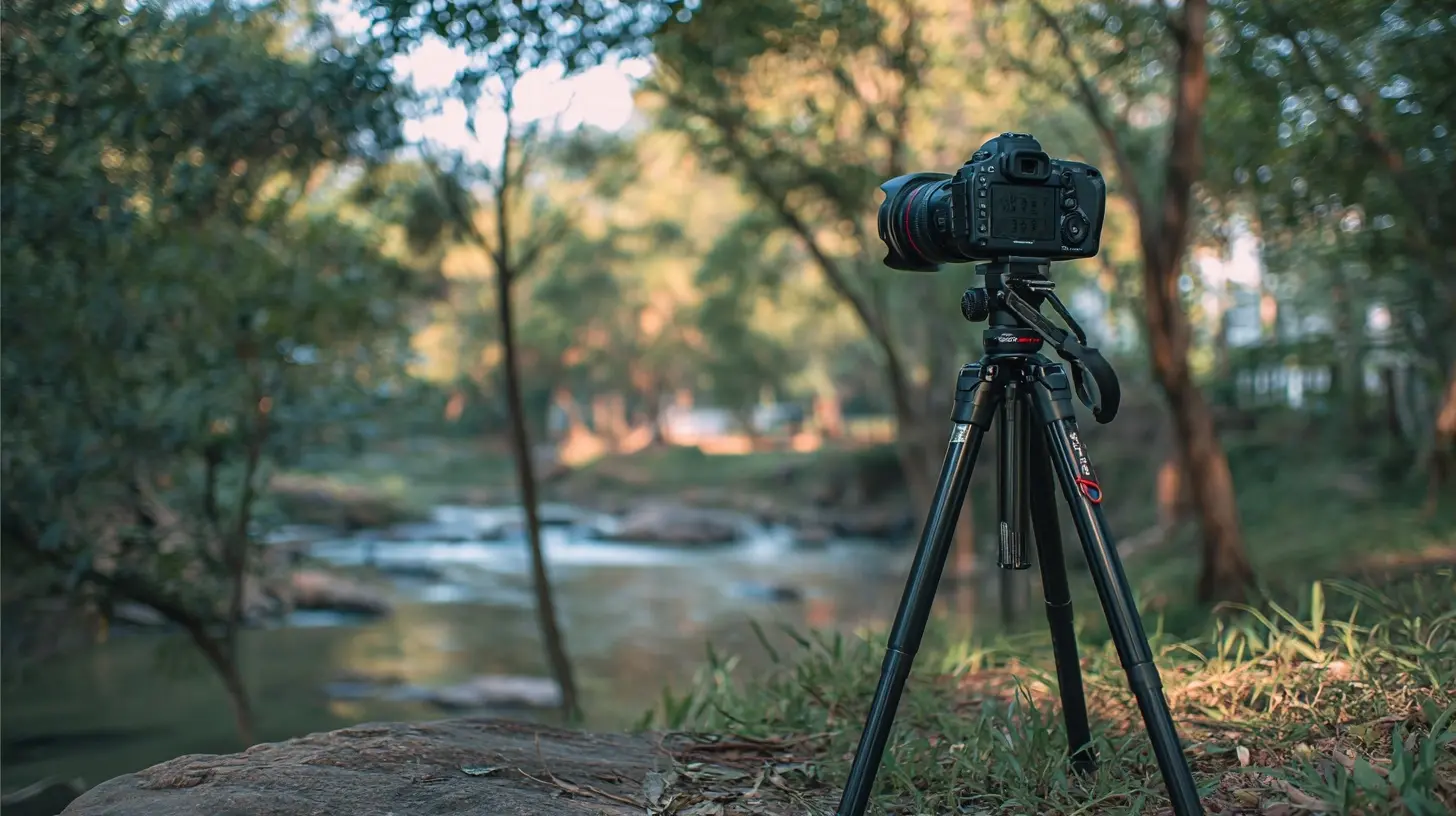
Material Choice: Carbon Fiber, Aluminum, and the Alternatives
Carbon Fiber
Carbon fiber is lighter and damps vibrations better than aluminum. It also does not get as cold to the touch in winter, which sounds trivial until you are handling metal legs at minus ten degrees.The downsides are cost and, to a lesser degree, durability. Carbon can crack under a hard impact where aluminum would dent. It is also more expensive, often two to three times the price of a comparable aluminum model.
Choose carbon fiber if you hike or fly frequently and weight is your primary constraint. Skip it if you shoot close to your car and budget is tight.
Aluminum
Aluminum is heavier, cheaper, and very tough. It handles abuse well and is the sensible choice for most casual travelers. The weight penalty is real but manageable if you are not carrying it all day.Less Common Options
Some tripods use magnesium alloys or composite plastics in the head and joints to save weight. These can be fine, but quality varies wildly. Treat unusual materials with healthy skepticism and look for real user reports rather than marketing claims.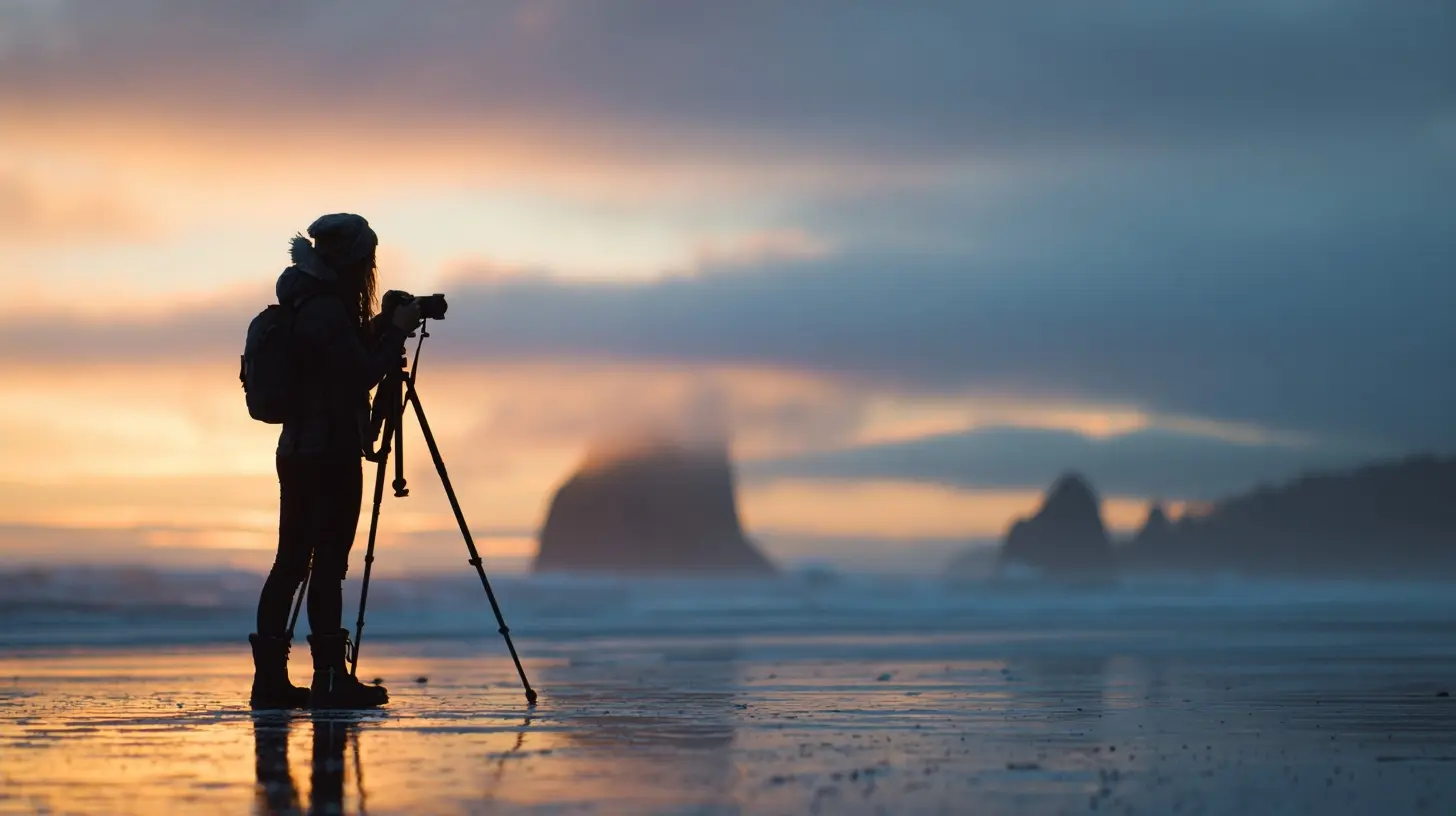
Height: The Spec Nobody Reads Carefully Enough
Maximum height is one of the most misunderstood specs. Manufacturers list the maximum height with the center column fully extended, which is the least stable configuration. The number that actually matters is the height with the center column down.Here is why. The center column is a single pole rising above the leg apex. The higher you raise it, the more leverage any vibration has. A tripod that reaches 170 centimeters with the column up might only reach 140 centimeters with it down. That difference determines whether you can shoot at eye level without hunching.
The Eye-Level Rule
For comfortable shooting, you want a tripod whose maximum height with the center column down is close to your eye level minus the height of your camera and head. If you are 180 centimeters tall, aim for a tripod that reaches roughly 150 to 160 centimeters without the column. Otherwise you will either crouch or extend the column and lose stability.Short Travelers and Tall Travelers
If you are shorter, you have more options because almost any tripod will reach your eye level. If you are tall, your choices narrow significantly. Do not compromise here. A tripod that forces you to stoop will ruin your posture and your patience.Folded Length: The Number That Determines Whether It Fits
Folded length determines whether the tripod fits in your bag, your carry-on, or your daypack side pocket.- Under 35 centimeters: fits in most daypacks and some jacket pockets. Often achieved with five leg sections or a reversing column, both of which add setup time.
- 35 to 45 centimeters: the sweet spot for most travelers. Fits in carry-on luggage and many camera bags.
- Over 50 centimeters: usually too long for compact travel. Fine if you check a bag or carry it externally.
Be aware of a trade-off here. More leg sections mean a shorter folded length but more joints to lock and unlock, which slows setup and adds potential failure points. Four sections is a common balance. Five sections is for people who truly need the compactness.
Leg Locks: Twist Versus Flip
Twist Locks
Twist locks are quieter, less likely to snag on straps, and generally seal better against dust and moisture. They can be faster once you develop muscle memory, because you can loosen all the locks on one leg at once with a single twisting motion.The downside is that they require more turns to fully tighten, and if you under-tighten one, the leg can slip. This is a technique issue, not a design flaw, but it catches beginners.
Flip Locks
Flip locks are faster for beginners because you can see at a glance whether they are open or closed. They are also easier to operate with gloves in cold weather.The downsides are that they can snag on fabric, they are noisier, and the tension can loosen over time and needs occasional adjustment.
Neither is objectively better. Twist locks suit photographers who value silence and packing cleanliness. Flip locks suit those who want speed and visual confirmation.
The Head: Where Most People Cut Corners and Regret It
The tripod head is arguably more important than the legs for day-to-day usability. A great head on mediocre legs is more pleasant than the reverse.Ball Heads
Ball heads are compact, fast to adjust, and excellent for still photography. One knob loosens the ball, you frame your shot, and you tighten it. The best ones have separate pan and friction controls.Watch out for cheap ball heads. They can droop slightly after you tighten them, which shifts your composition. They can also have uneven friction, making fine adjustments frustrating. This is one area where spending more genuinely pays off.
Pan and Tilt Heads
Pan and tilt heads have separate axes for panning, tilting, and sometimes leveling. They are bulkier and slower for stills but far better for video because you can pan smoothly along one axis without disturbing the others.Fluid Heads
Fluid heads use internal damping to create smooth, consistent motion. They are the standard for video work. They are heavy and expensive, and they are overkill for most still photographers.Three-Way and Geared Heads
These offer precise, repeatable adjustments and are popular for architecture and macro work. They are slow and heavy, so they rarely make sense for travel unless precision is your priority.
Payload Rating: Read It With Skepticism
Payload ratings tell you how much weight the tripod and head can support. The problem is that there is no universal standard, so a 5 kilogram rating from one brand may not match another.More importantly, payload ratings usually describe the weight the tripod can hold without collapsing, not the weight at which it remains stable. A tripod rated for 8 kilograms may hold your 3 kilogram setup fine but still vibrate in the wind.
Practical rule: aim for a payload rating at least two to three times the weight of your heaviest camera and lens combination. This gives you a stability margin rather than running at the limit.
Center Columns: Useful, Tempting, and Often Misused
A center column lets you raise the camera without adjusting the legs. It is handy for small height tweaks and for reaching higher when you cannot reposition the legs.The catch is that raising the center column reduces stability, sometimes dramatically. Many experienced photographers treat the center column as a last resort, not a default.
Some tripods offer a short column or a column that can be removed and replaced with a low-profile plate. This lets you get the camera very close to the ground for macro or low-angle work. If that matters to you, check whether the tripod supports it.
Feet, Spikes, and Surface Adaptability
Rubber feet grip smooth surfaces like tile and rock. Metal spikes dig into soil, grass, and ice for better traction.Many travel tripods include interchangeable feet or retractable spikes. This is a small feature that makes a real difference when you move between city sidewalks and mountain trails. If you shoot in varied terrain, prioritize it.
Setup Speed and Real-World Usability
Specs do not capture how a tripod feels in use. Consider these practical factors:- How many turns does it take to extend each leg?
- Do the locks have a clear open and closed position?
- Can you adjust the leg angles independently for uneven ground?
- Does the head have a quick-release plate, and is it compatible with your other gear?
- Does the tripod come with a carry case that actually fits?
A tripod that sets up in fifteen seconds will get used far more than one that takes a minute. If you shoot fleeting light, speed is not a luxury.
Common Mistakes and Misconceptions
Mistake one: buying the lightest tripod at any cost. Ultra-light tripods often sacrifice stability and height. If your images come out soft, the weight savings were not worth it.Mistake two: ignoring the head. A flimsy head ruins an otherwise good tripod. Budget for a quality head or buy a kit with a proven one.
Mistake three: trusting payload ratings blindly. Use them as a rough guide, then look for real-world reviews from photographers who shoot like you do.
Mistake four: overlooking the quick-release system. If your plate is incompatible with your other supports, you will be constantly swapping. Standardized plates save time and frustration.
Misconception: carbon fiber is always better. It is lighter and damps better, but it costs more and can be more fragile. Aluminum is the smarter choice for many travelers.
Misconception: more leg sections are always better. They shorten the folded length but add setup time and failure points. Choose based on your packing needs, not the spec sheet.
A Practical Decision Framework
Here is a simple process to narrow your options:1. Define your primary use: stills, video, or both.
2. Set your weight limit based on how you travel.
3. Determine the minimum height you need at eye level without the center column.
4. Set your folded length limit based on your bag.
5. Choose a material that fits your budget and weight target.
6. Pick a head type that matches your shooting style.
7. Verify the payload rating gives you at least a two to three times margin.
8. Check real user reviews for stability, lock quality, and head performance.
If you follow this order, you will eliminate most tripods quickly and focus on the few that genuinely fit.
Final Thoughts
The perfect travel tripod in 2027 is not the lightest, the cheapest, or the most feature-packed. It is the one that matches your specific shooting needs and that you will actually carry. Weight, height, material, head type, and setup speed all interact, and optimizing one usually costs you another. Understand those trade-offs, be honest about how you shoot, and you will end up with a tripod that disappears into your workflow and lets you focus on making images instead of fighting your gear.
all images in this post were generated using AI tools
Category:
Camera GearAuthor:

Kira Sanders